




























Julia's Print Clinic
Bleed Made Easy
Why Every Product Is Different (And How We Help You Get It Right)
Bleed sounds simple until you start ordering different types of print. A PVC banner, Dibond sign, roller banner, sticker, flag and tablecloth do not all finish in the same way, so their artwork cannot all use one identical bleed setting.
Products may be cut, hemmed, welded, sewn, trimmed, tensioned, mounted or partly hidden inside hardware. Each finishing route changes where backgrounds must extend and where important content should remain.
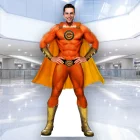
Meet Julia
Your Artwork Advice Expert
I check artwork before it reaches the Graphic Warehouse production team. A large part of that job is making sure the file matches the product, size and finishing method that has actually been ordered.
"The safest bleed advice is not a remembered number. It is the correct template for the product in front of you."
Julia's Print Clinic turns the questions we answer every day into practical guidance for trade printers, sign makers, commercial printers, copy shops, designers and print resellers.
Today's Print Clinic
Bleed Is Product-Specific
The finished product determines the artwork setup.
The required bleed, safe zone, trim position and finishing allowance can change with the material, product size, cutting method, hems, eyelets, pockets, stitching, frame fitting or hidden hardware.
Graphic Warehouse's automatic template builder creates a template around those product-specific requirements, helping you begin with the right setup rather than applying a generic value and hoping it fits.
What Bleed Actually Does
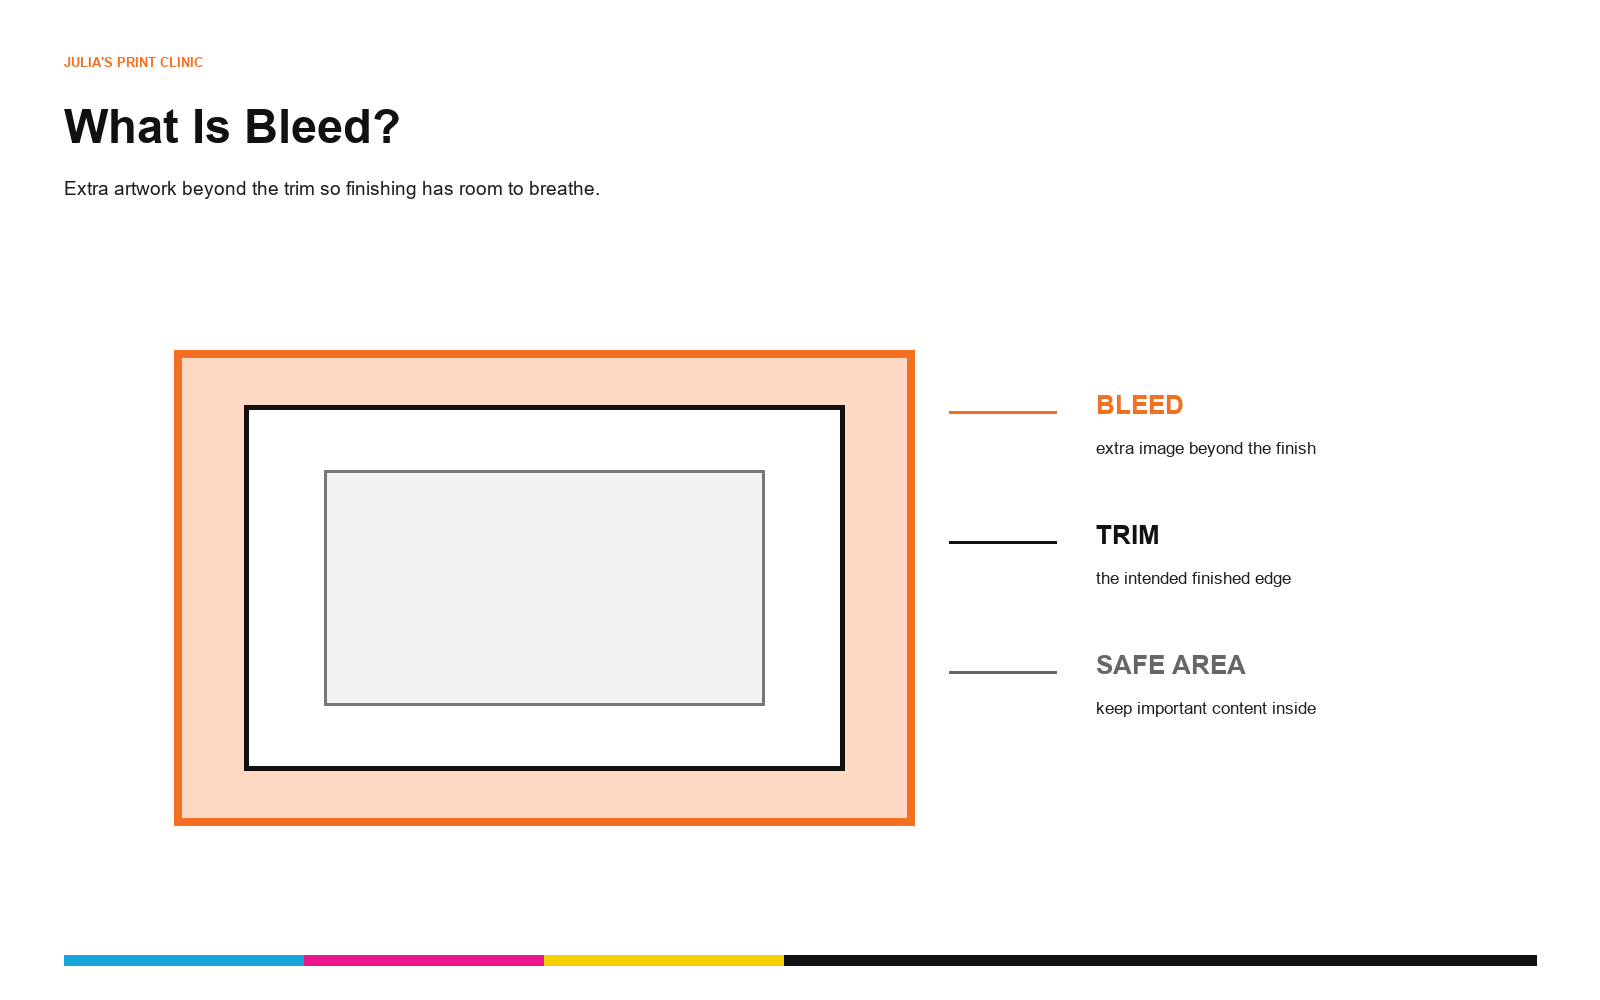
Bleed
Bleed is extra artwork extending beyond the intended finished edge. It gives the cutting or finishing process room to work without leaving an unwanted white line if there is a small production movement.
Trim Line
The trim line shows where the product is intended to finish. It is not the point where a background image or colour should stop.
Safe Zone
The safe zone keeps important text, logos, QR codes and key details away from trims, hems, welds, eyelets, stitching, folds, pockets and hidden sections.
Why Every Product Is Different
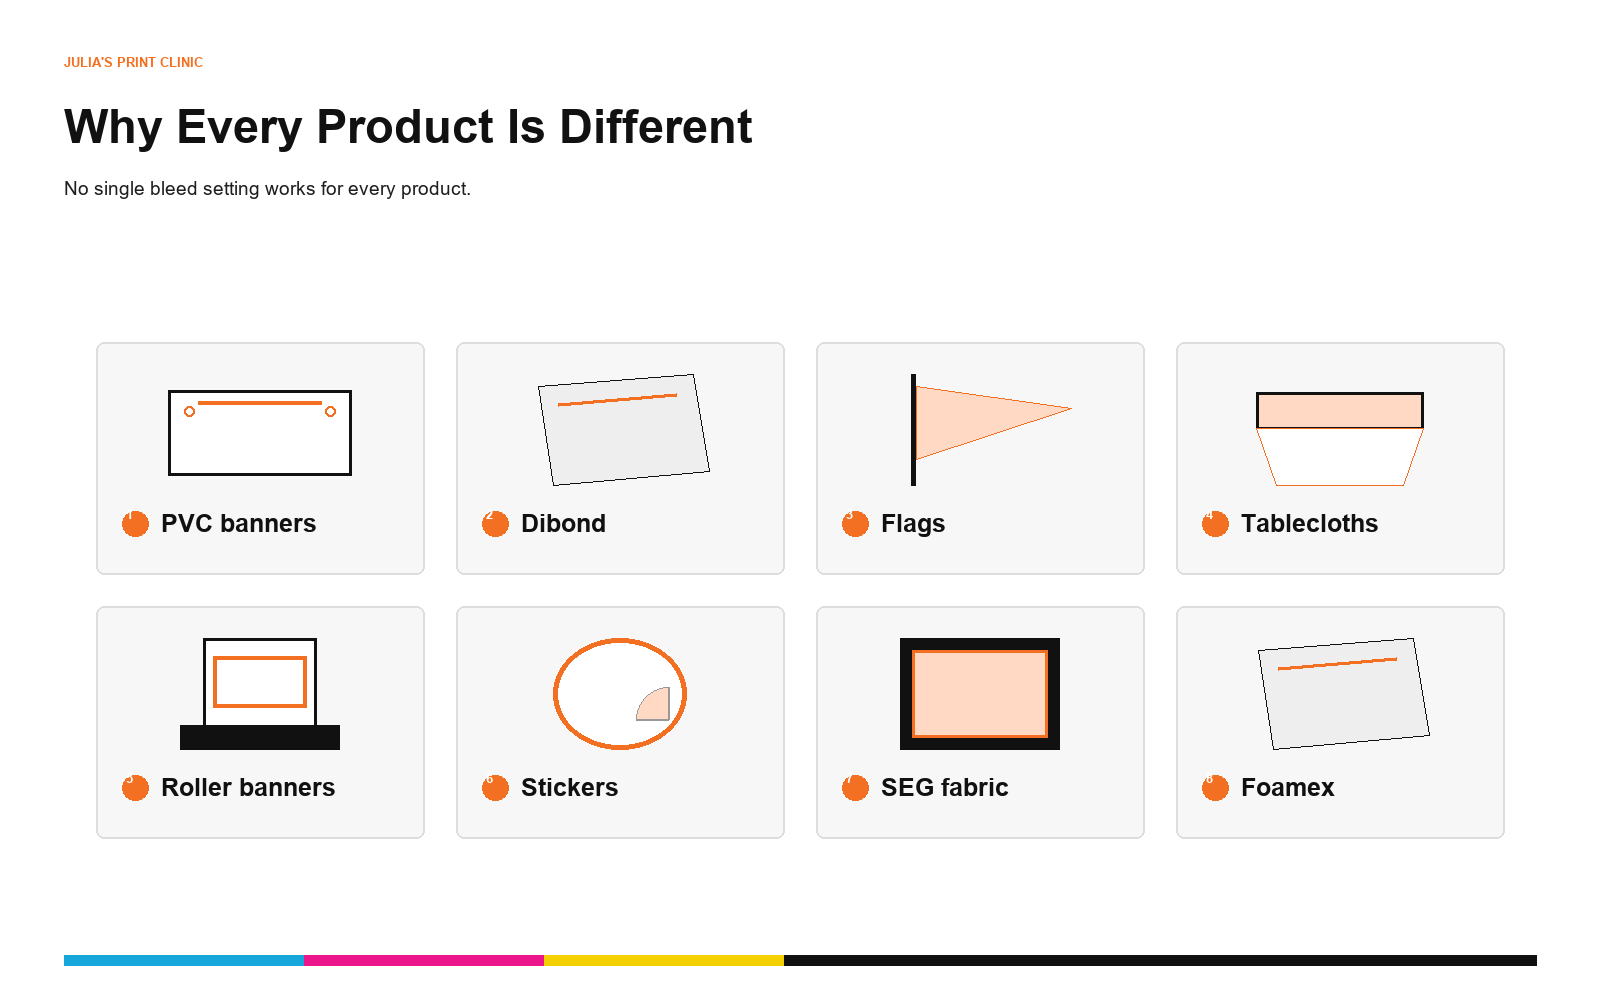
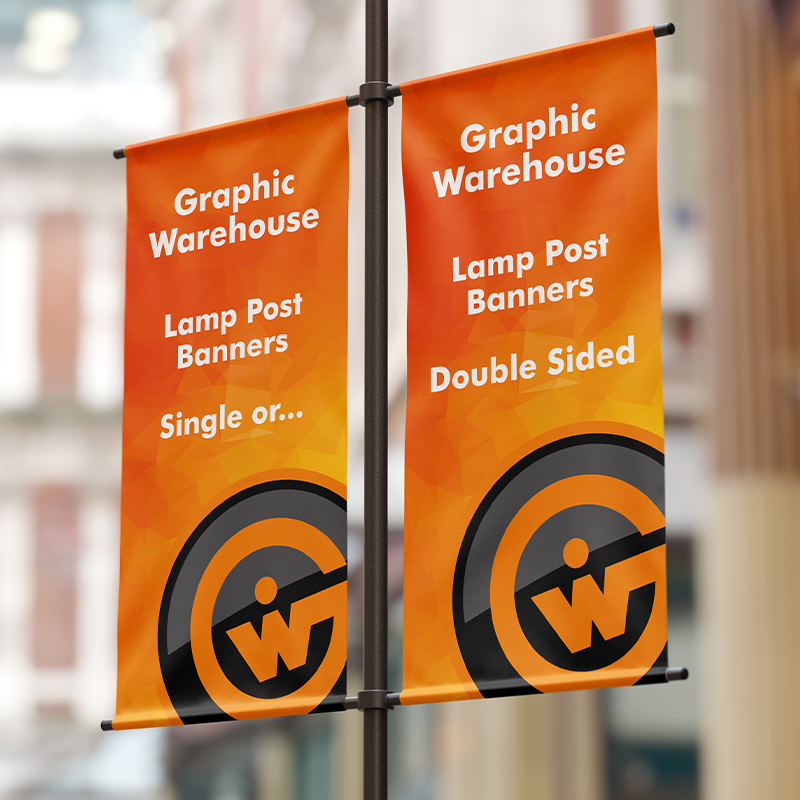
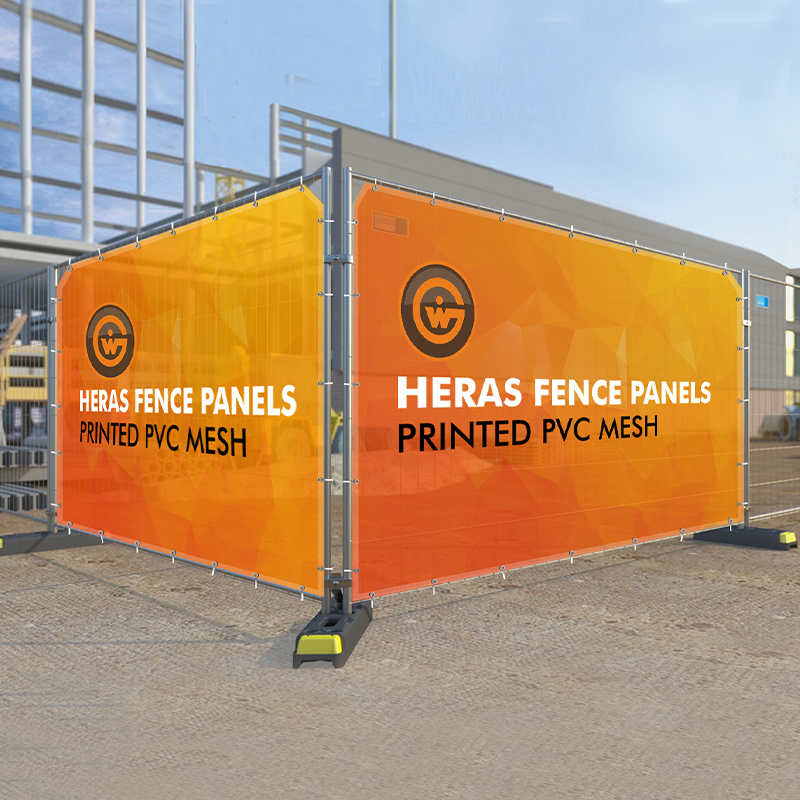
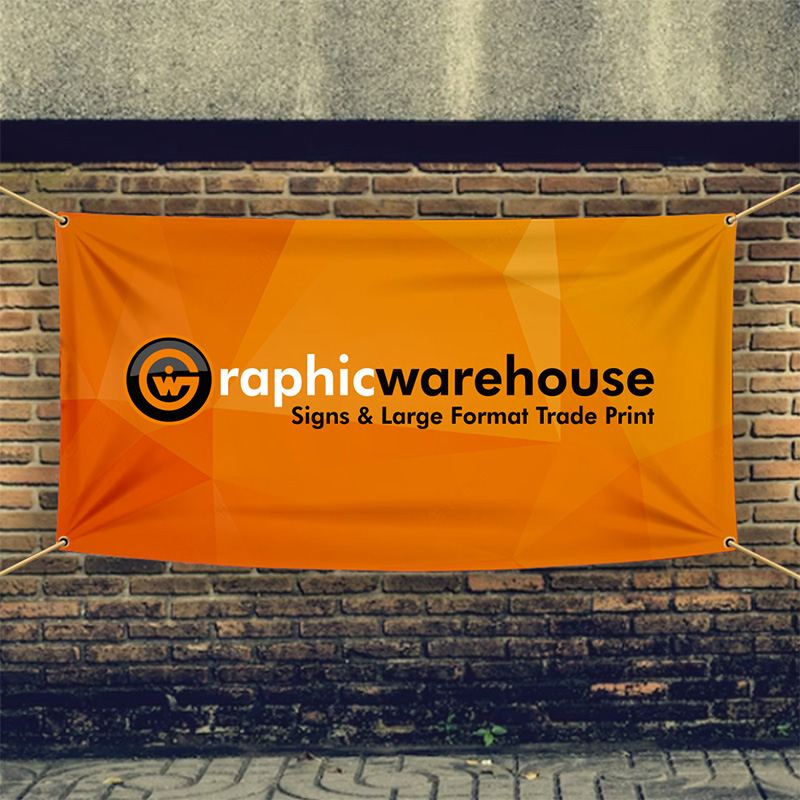
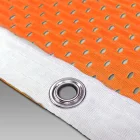
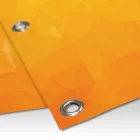
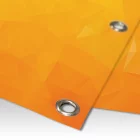
- PVC banners can require space for hems, welds and eyelets.
- Dibond and Foamex need artwork arranged for a precise rigid cut edge.
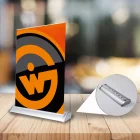
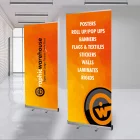
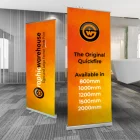
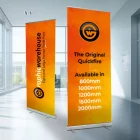
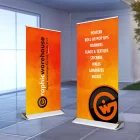
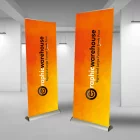
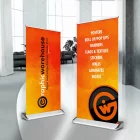
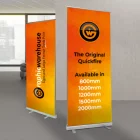
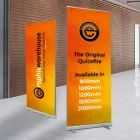
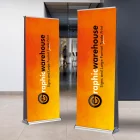
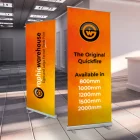
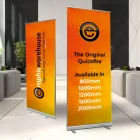
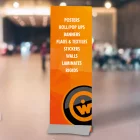
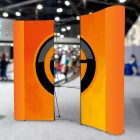
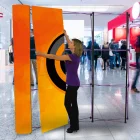
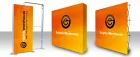
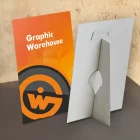
- Roller banners include a lower area that disappears into the cassette.
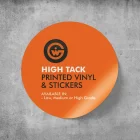
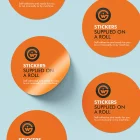
- Stickers may follow rectangular, shaped, kiss-cut or die-cut paths.
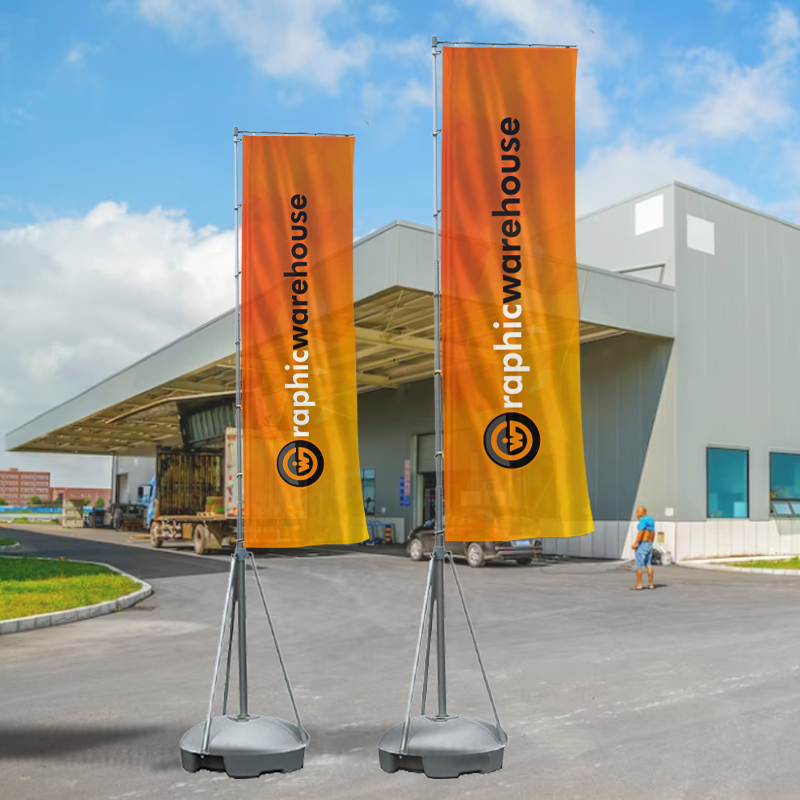
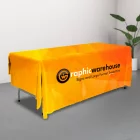
- Flags and tablecloths can include stitching, pockets, folds and moving fabric.
- SEG and fabric displays include material that fits or tensions into a frame.
The Automatic Template Builder
Graphic Warehouse builds the template around the product being ordered. It is more than a blank page at the right size: it communicates the relevant bleed, safe areas, trim position and finishing allowances for that manufacturing route.
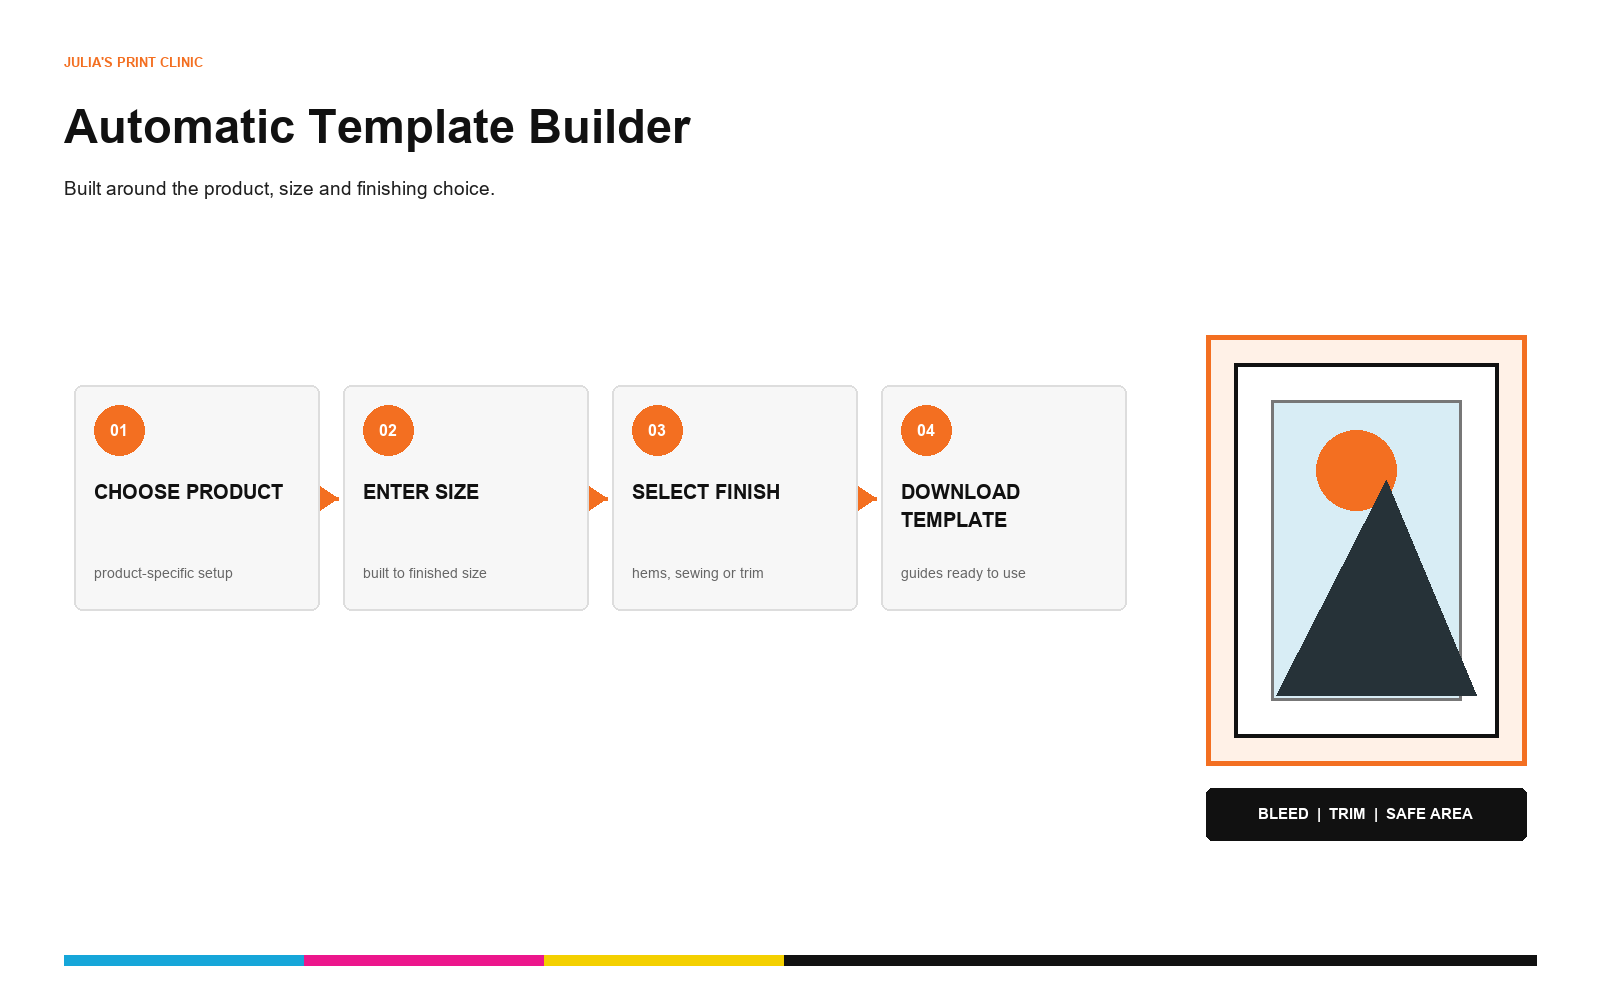
This is especially useful when one campaign needs several products. A banner, rigid sign, roller banner, sticker and fabric graphic can share the same visual identity, but they should not share one identical artwork setup.
Learn more about Graphic Warehouse's online ordering, preflight and artwork workflow .
Generate Bleed in Your Browser
Sometimes artwork is almost ready, but an edge does not extend far enough. Reopening an approved design file can be slower and riskier than it sounds, particularly when the original fonts, linked images or colour settings are not available.
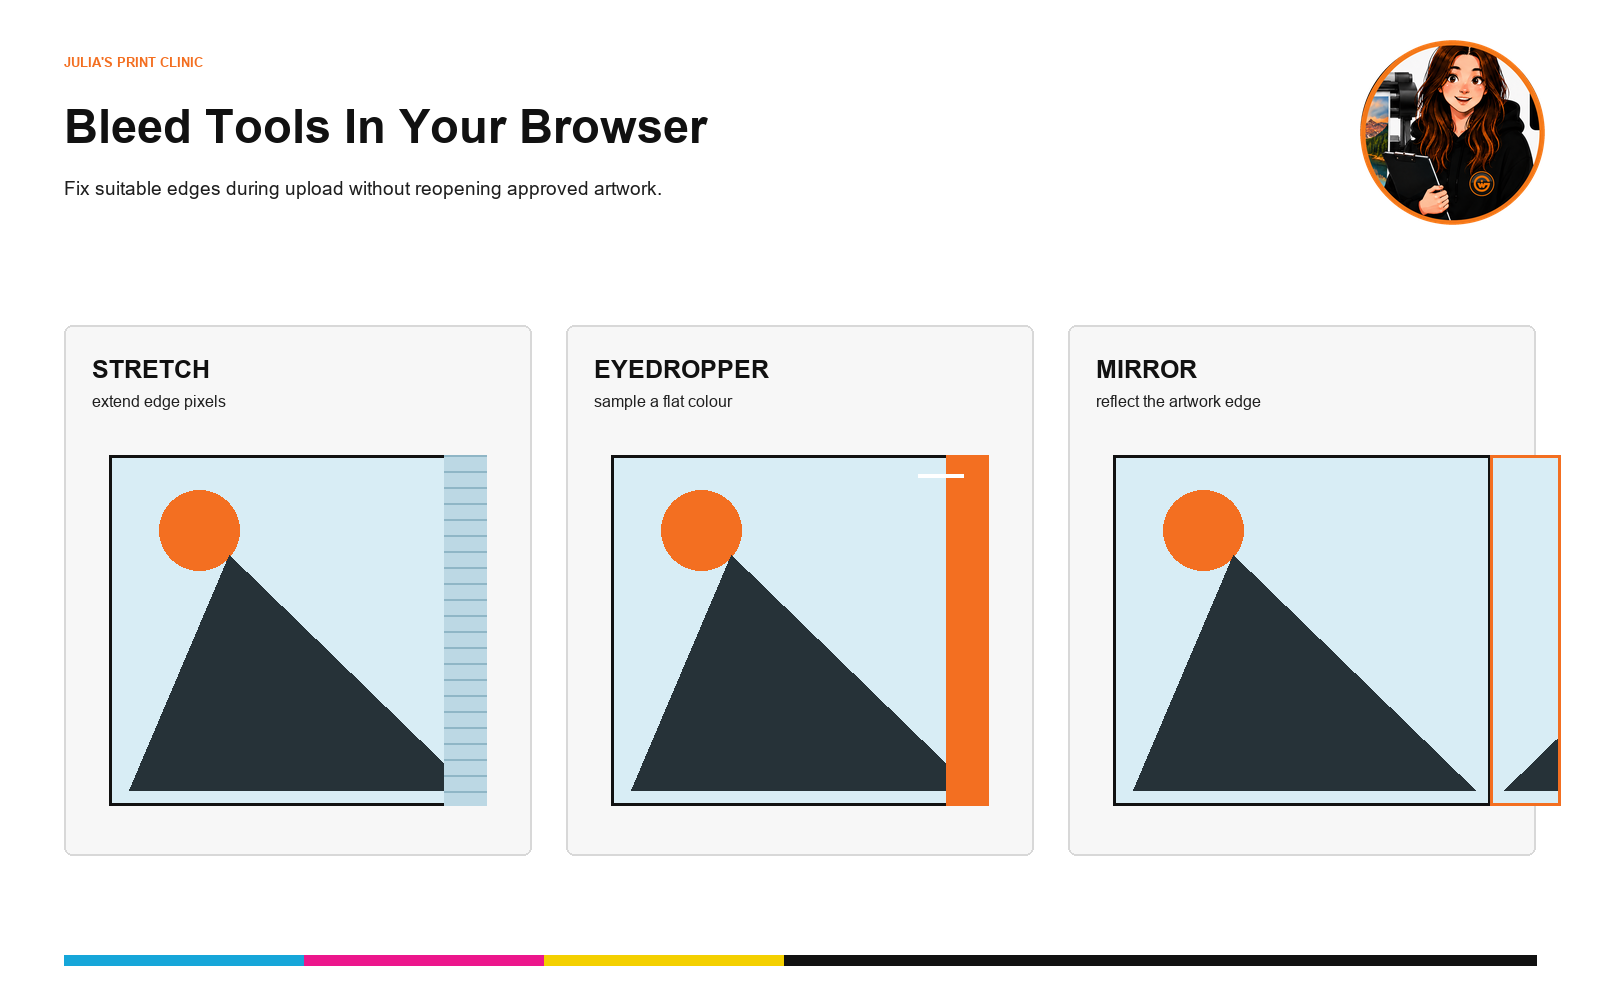
Graphic Warehouse's browser-based upload workflow can generate bleed using Stretch, Eyedropper and Mirror methods. The practical idea is similar to bleed-generation functionality familiar from ONYX RIP workflows, while running during the online upload process.
Stretch
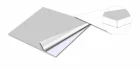
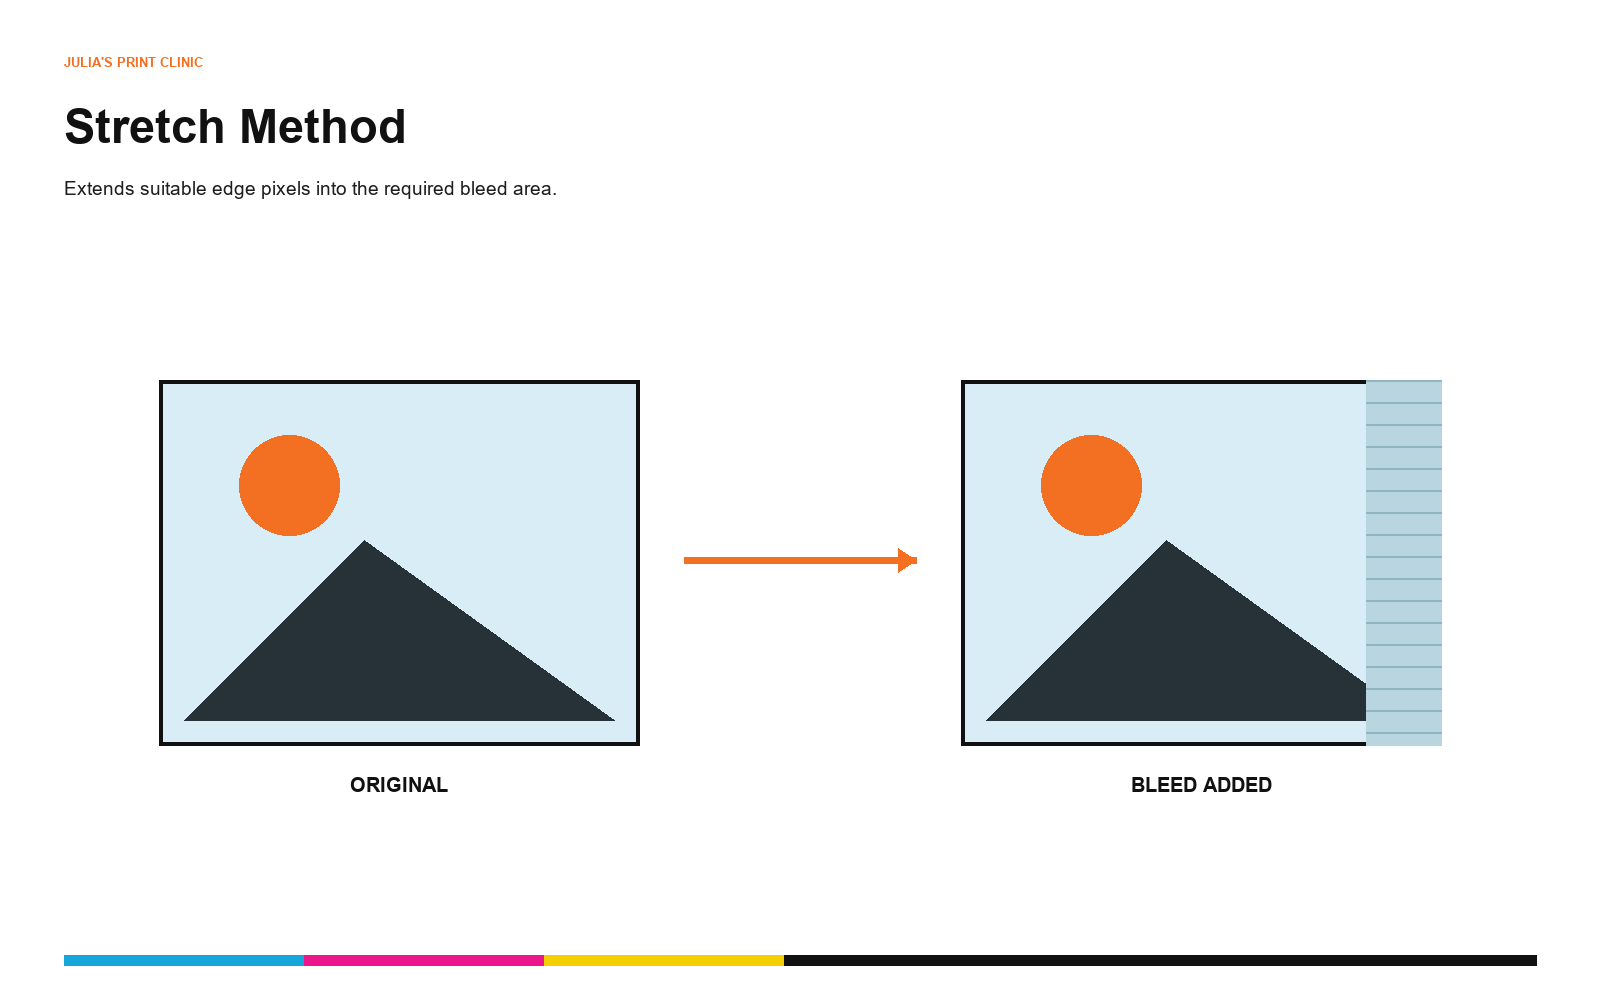
Stretch extends pixels from the artwork edge into the bleed area. It can work well for suitable photographs, textures, simple gradients and backgrounds where a small extension will not distort an important object.
Eyedropper
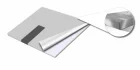
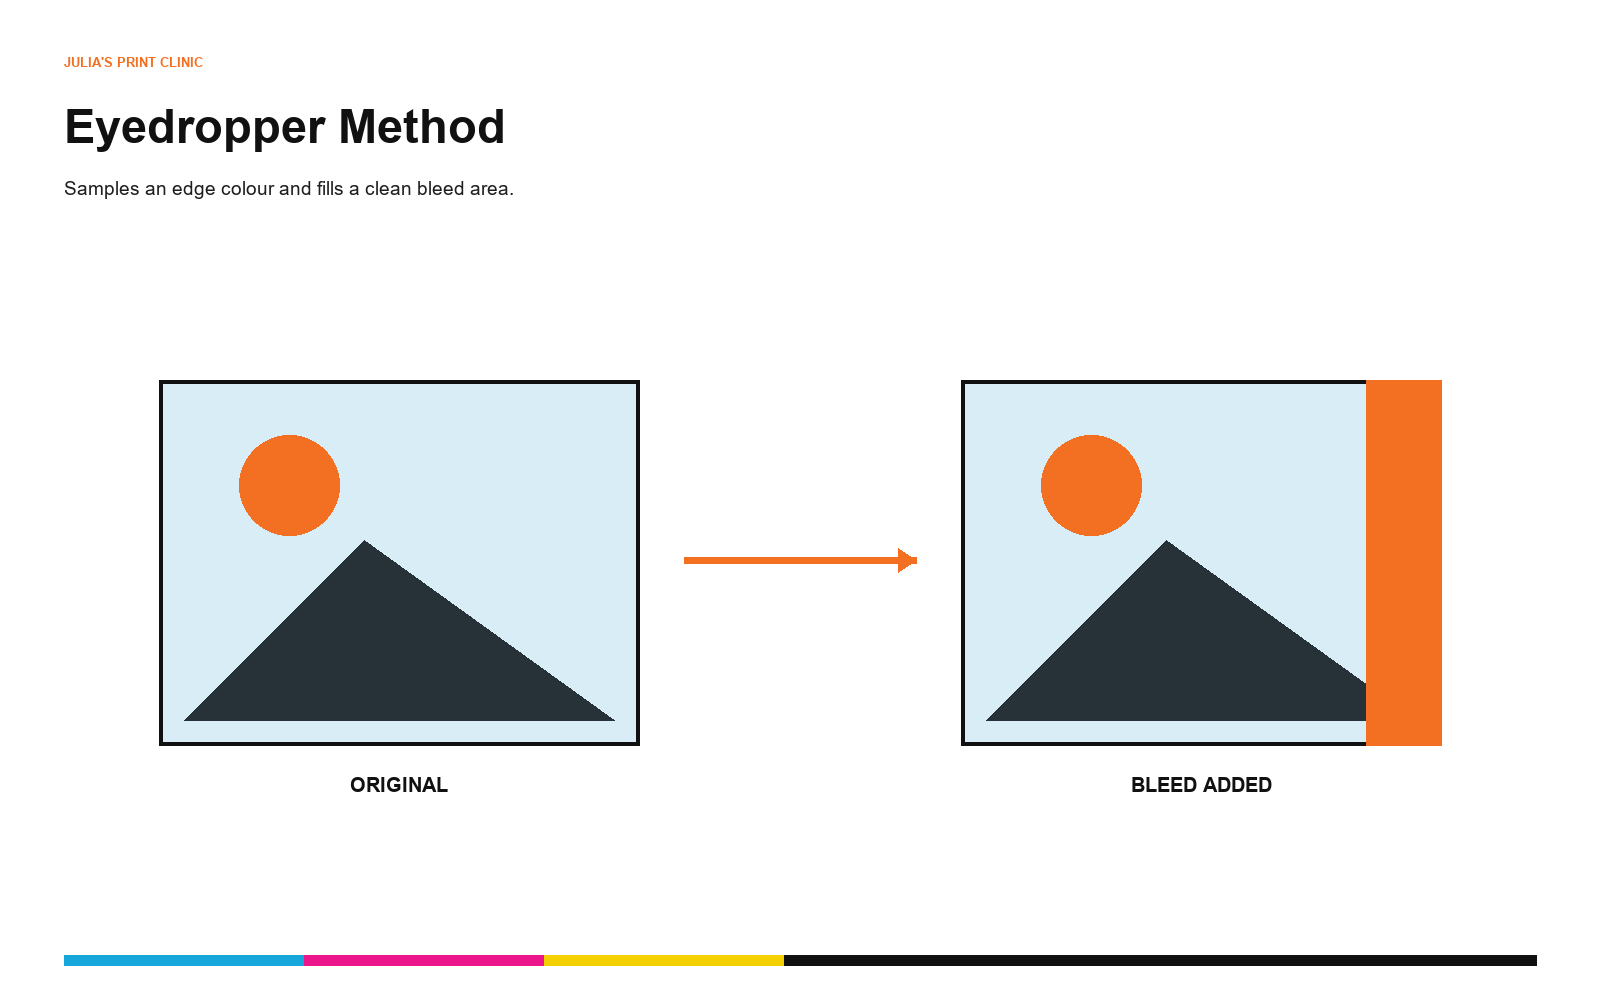
Eyedropper samples a colour from the artwork and fills the bleed area with that colour. It is useful when a solid or near-solid background simply needs to continue beyond the trim edge.
Mirror
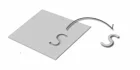
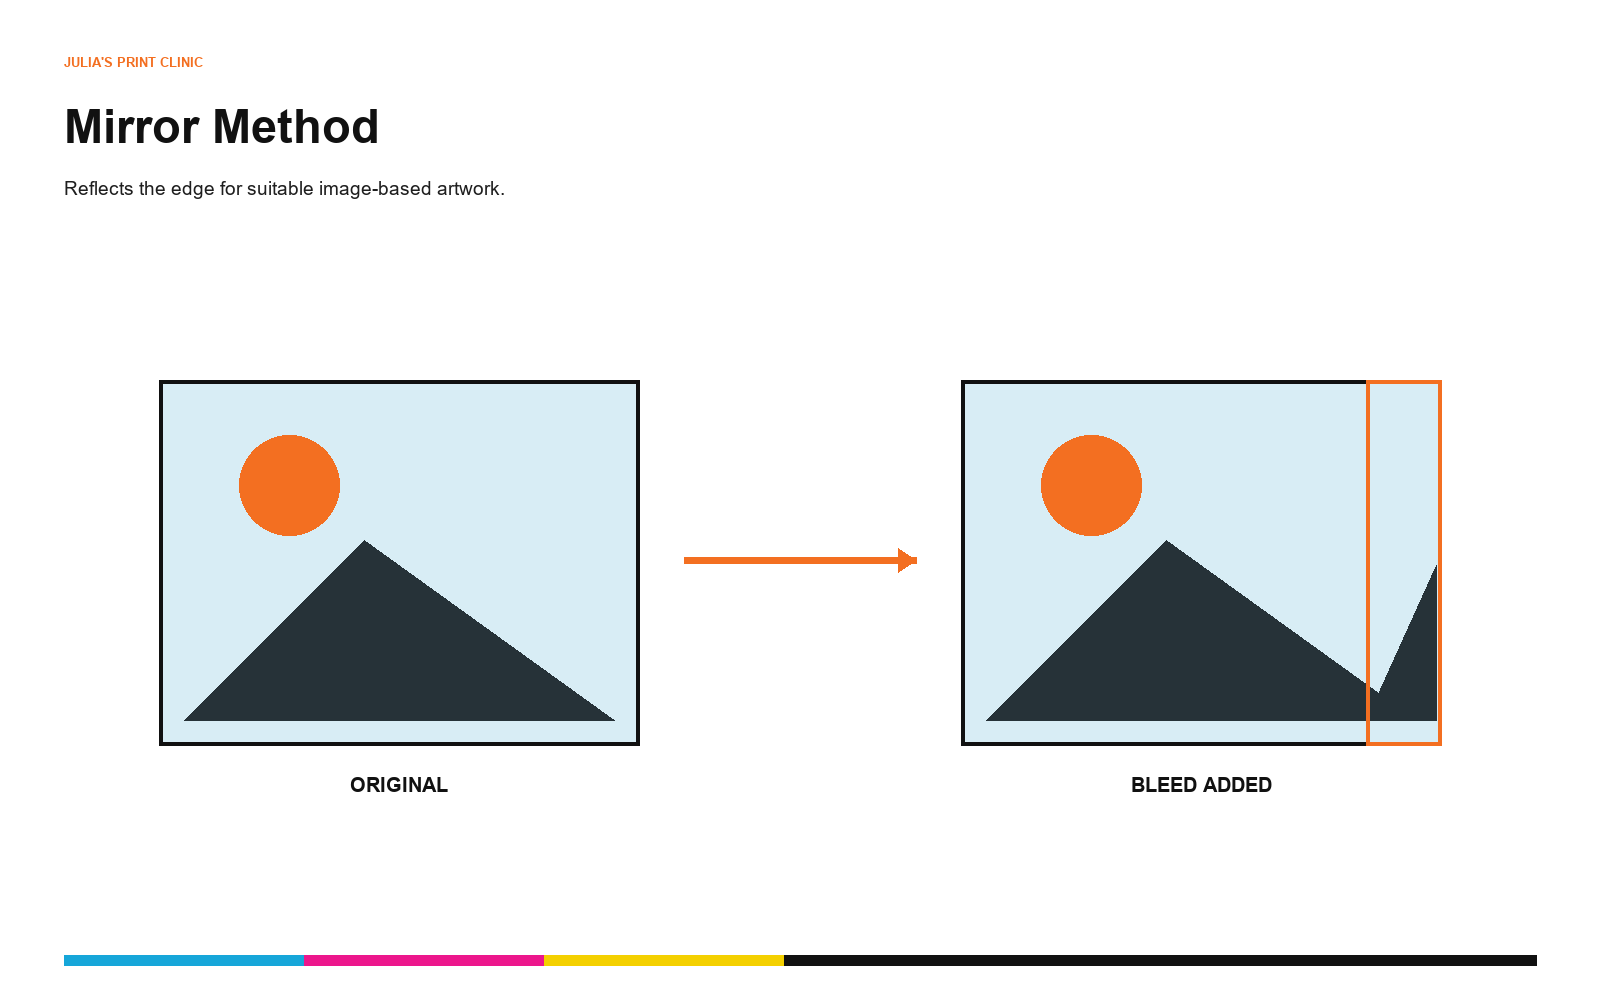
Mirror reflects the artwork edge outward. It can be useful for photographic or textured edges where a flat colour would be obvious and a stretched edge would look unnatural.
Why Avoid Reopening Approved Artwork?
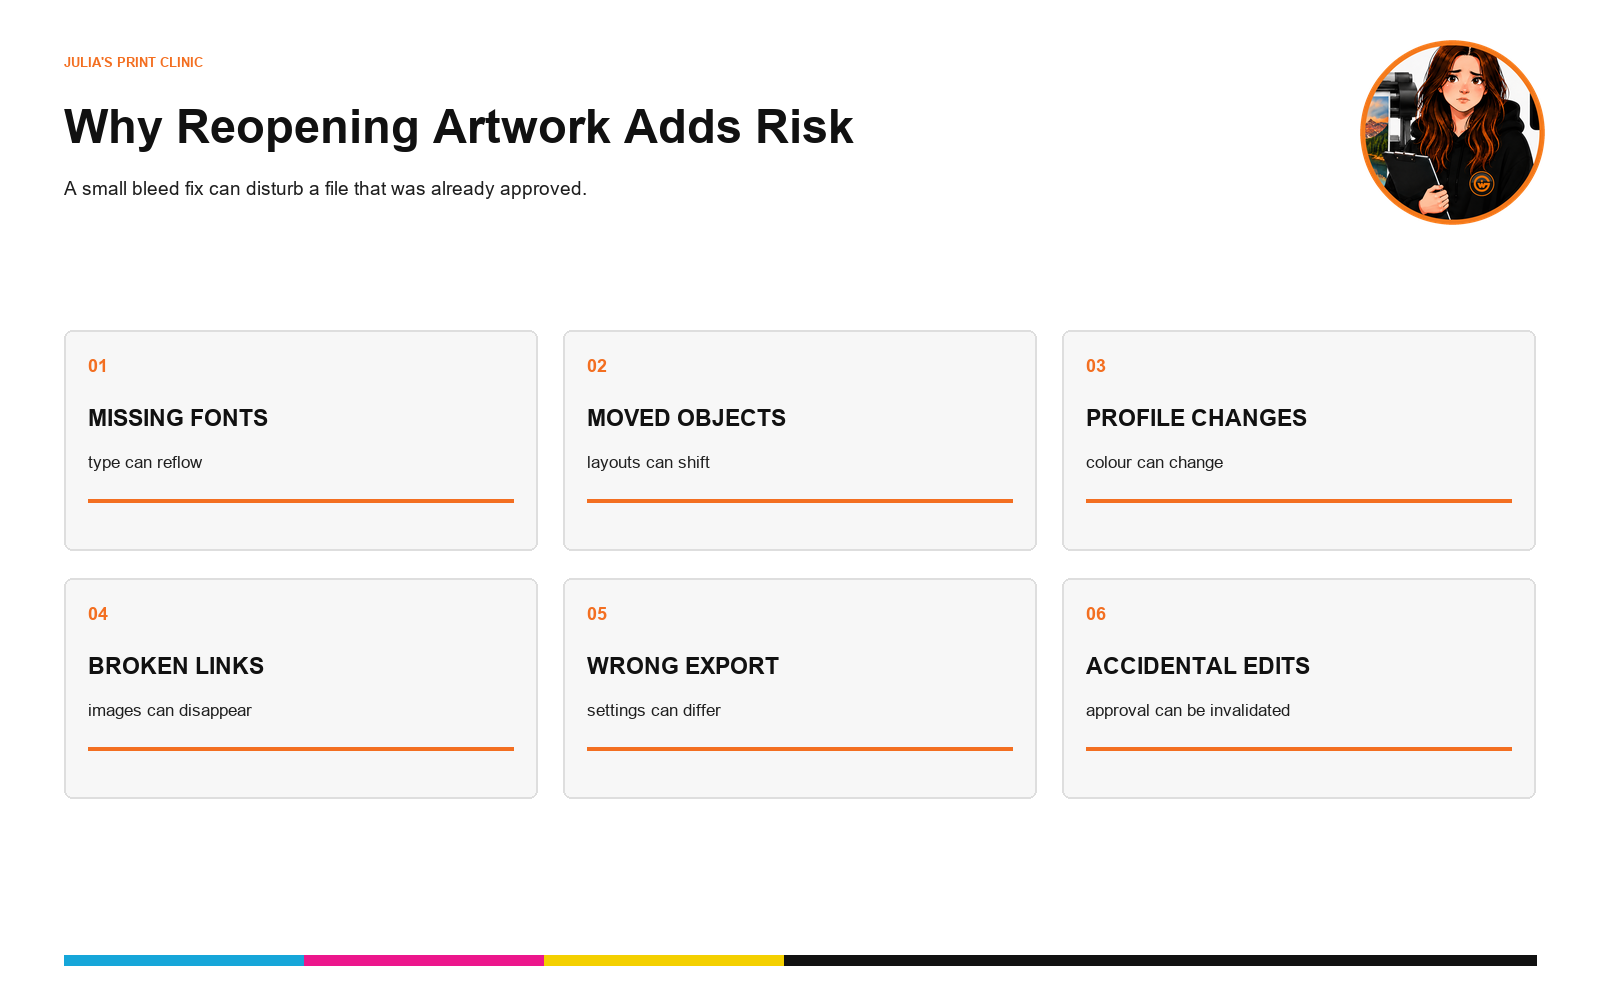
Reopening artwork solely to add bleed can introduce a new version of a file that had already been checked and approved. The risk is not just the time involved; the file can change without anyone intending it to.
- A missing font can substitute or reflow text.
- Linked images may be unavailable or replaced.
- Objects can move, resize or become hidden.
- Colour profiles or colour modes can change.
- Transparency and effects can export differently.
- The replacement PDF can use the wrong size or export settings.
Banners and PVC Products
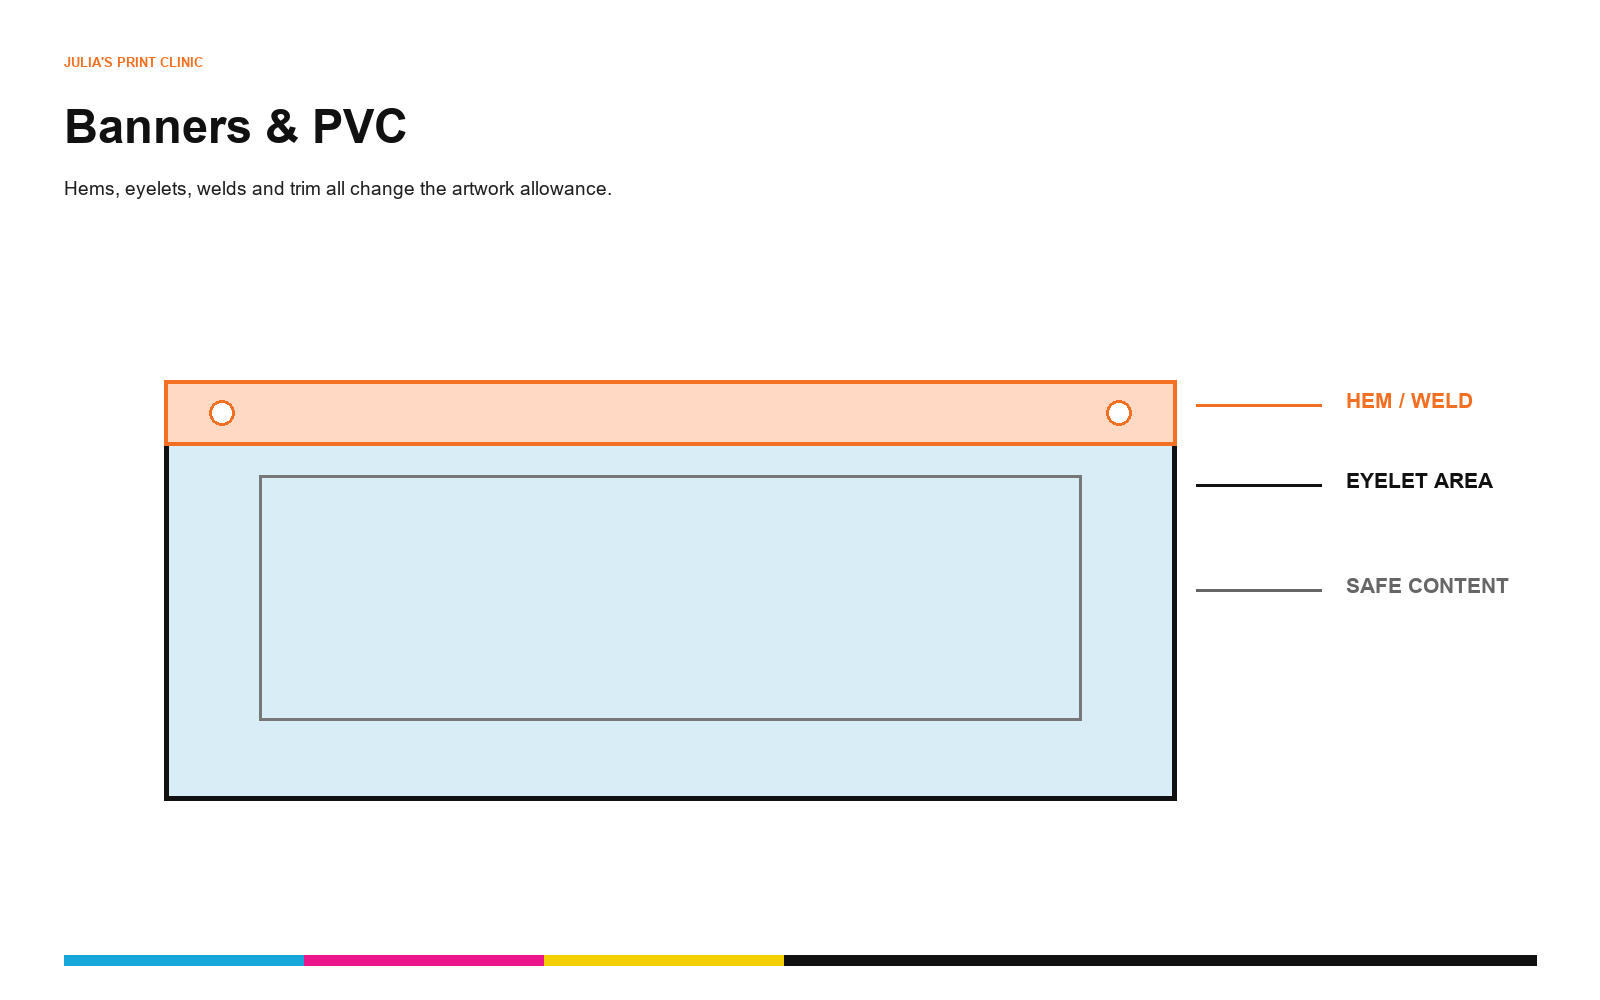
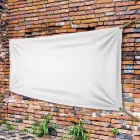
PVC banners often need safe areas that respect hems, welds and eyelets. A background may continue through the required bleed and finishing area, but important text and logos must remain clear of hardware and edge finishing.
Dibond, Foamex and Rigid Boards
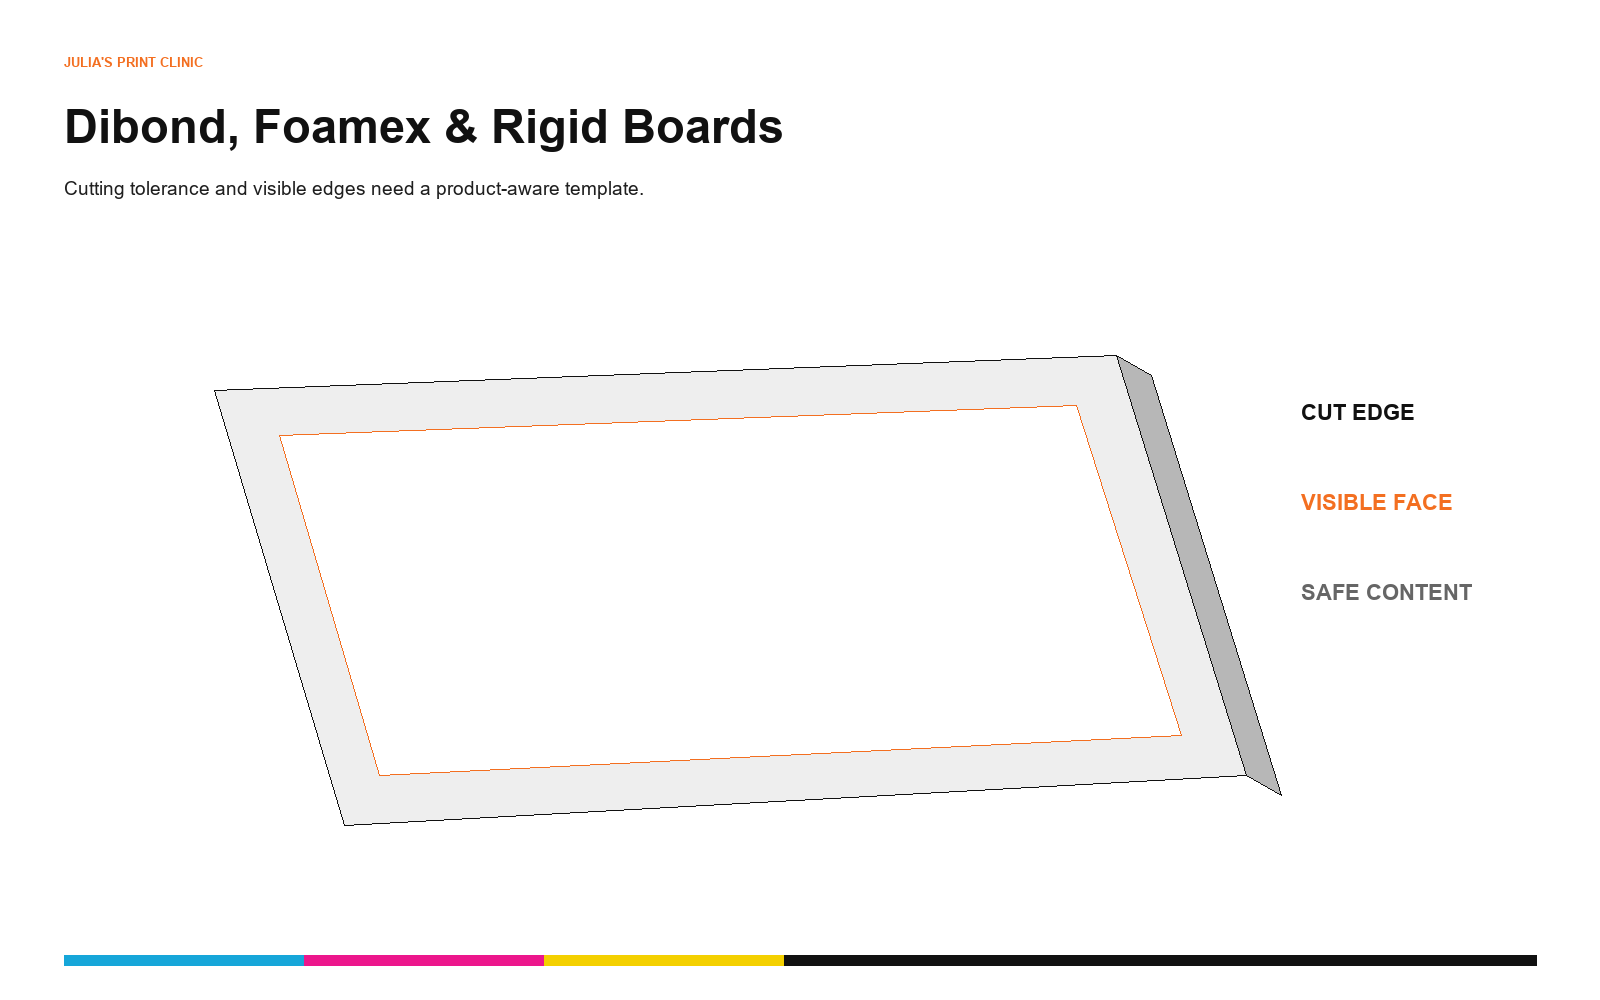
Rigid products have a definite finished edge, so the relationship between bleed, trim and safe content is easy to see on the final item. Allow extra care where signs will be viewed close up or where drilling, mounting or other finishing is specified.
Flags, Tablecloths and Fabric Displays
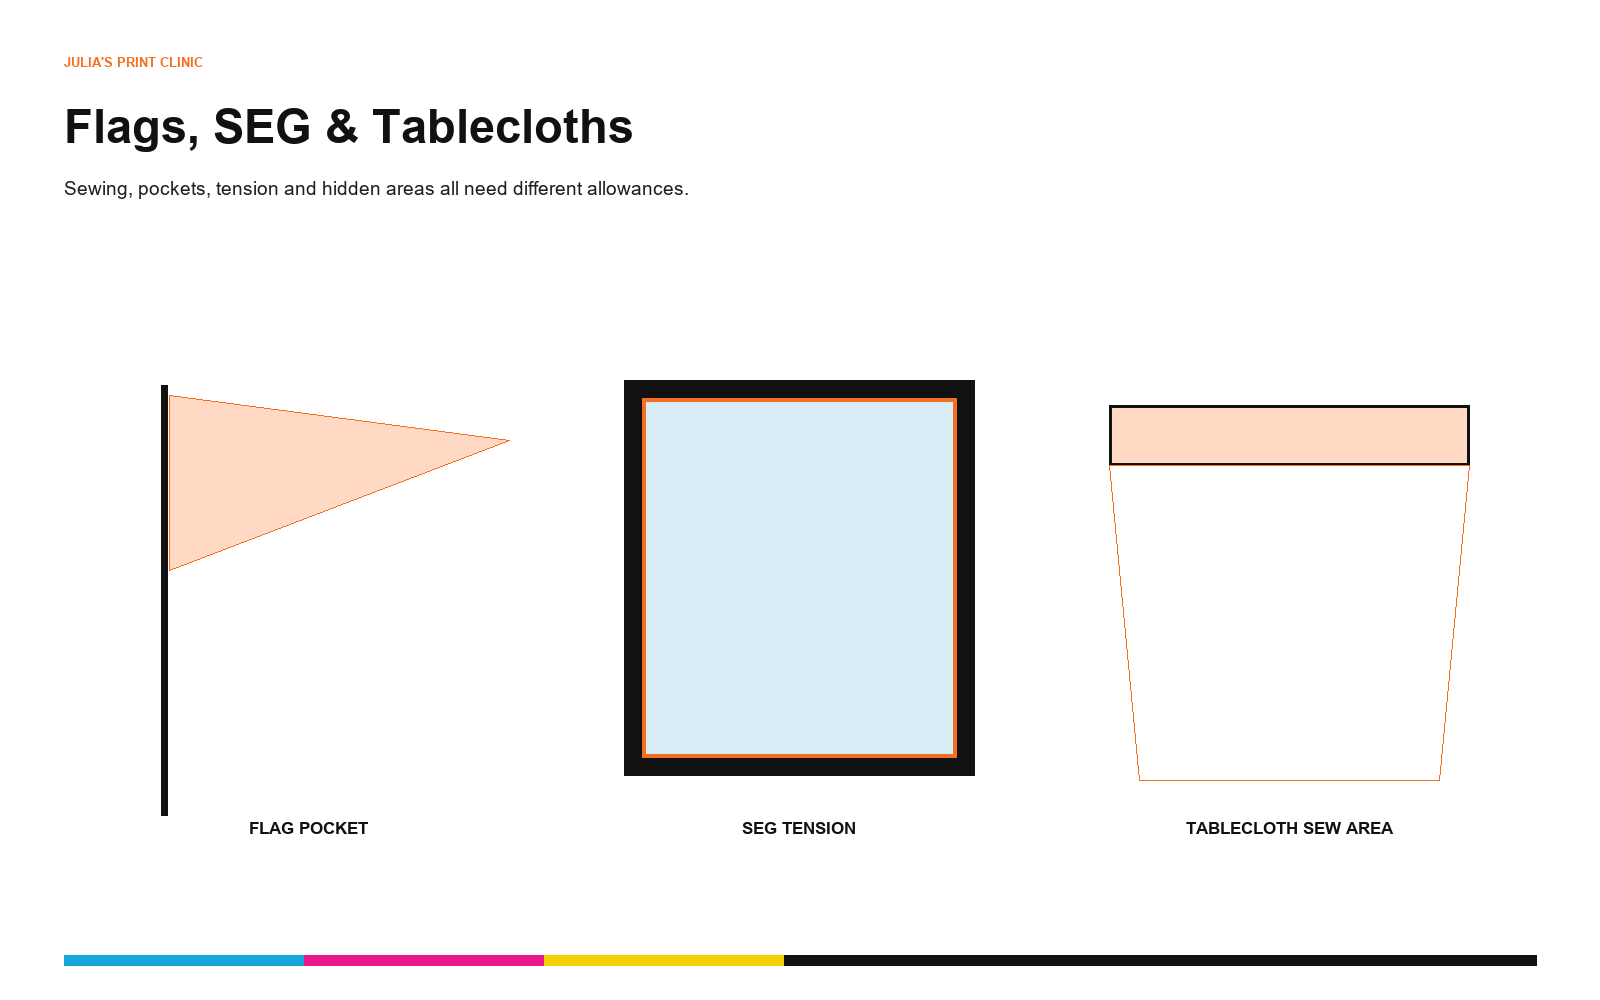
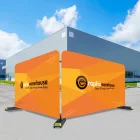
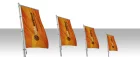
Fabric is not simply a soft version of paper. Sewing, pockets, folds, movement, stretch, tension and frame fitting can all affect the visible area. SEG graphics also include material used to fit the print into the frame, which is different from the visible face.
The artwork should be built around the supplied flag, tablecloth or fabric-display template, including the orientation and finishing marks shown for that exact product.
Roller Banners and Stickers
Roller Banners
Part of a roller-banner graphic sits inside the cassette. Important content placed too low can disappear even when the PDF looks correct as a flat page. Use the template's visible area and hidden lower allowance.
Stickers
A rectangular sticker, shaped sticker and kiss-cut sticker can each use different cut logic. The bleed and safe zone need to follow the selected product and cut path, particularly around corners, narrow sections and detailed contours.
Before You Approve
Julia's Final Artwork Check
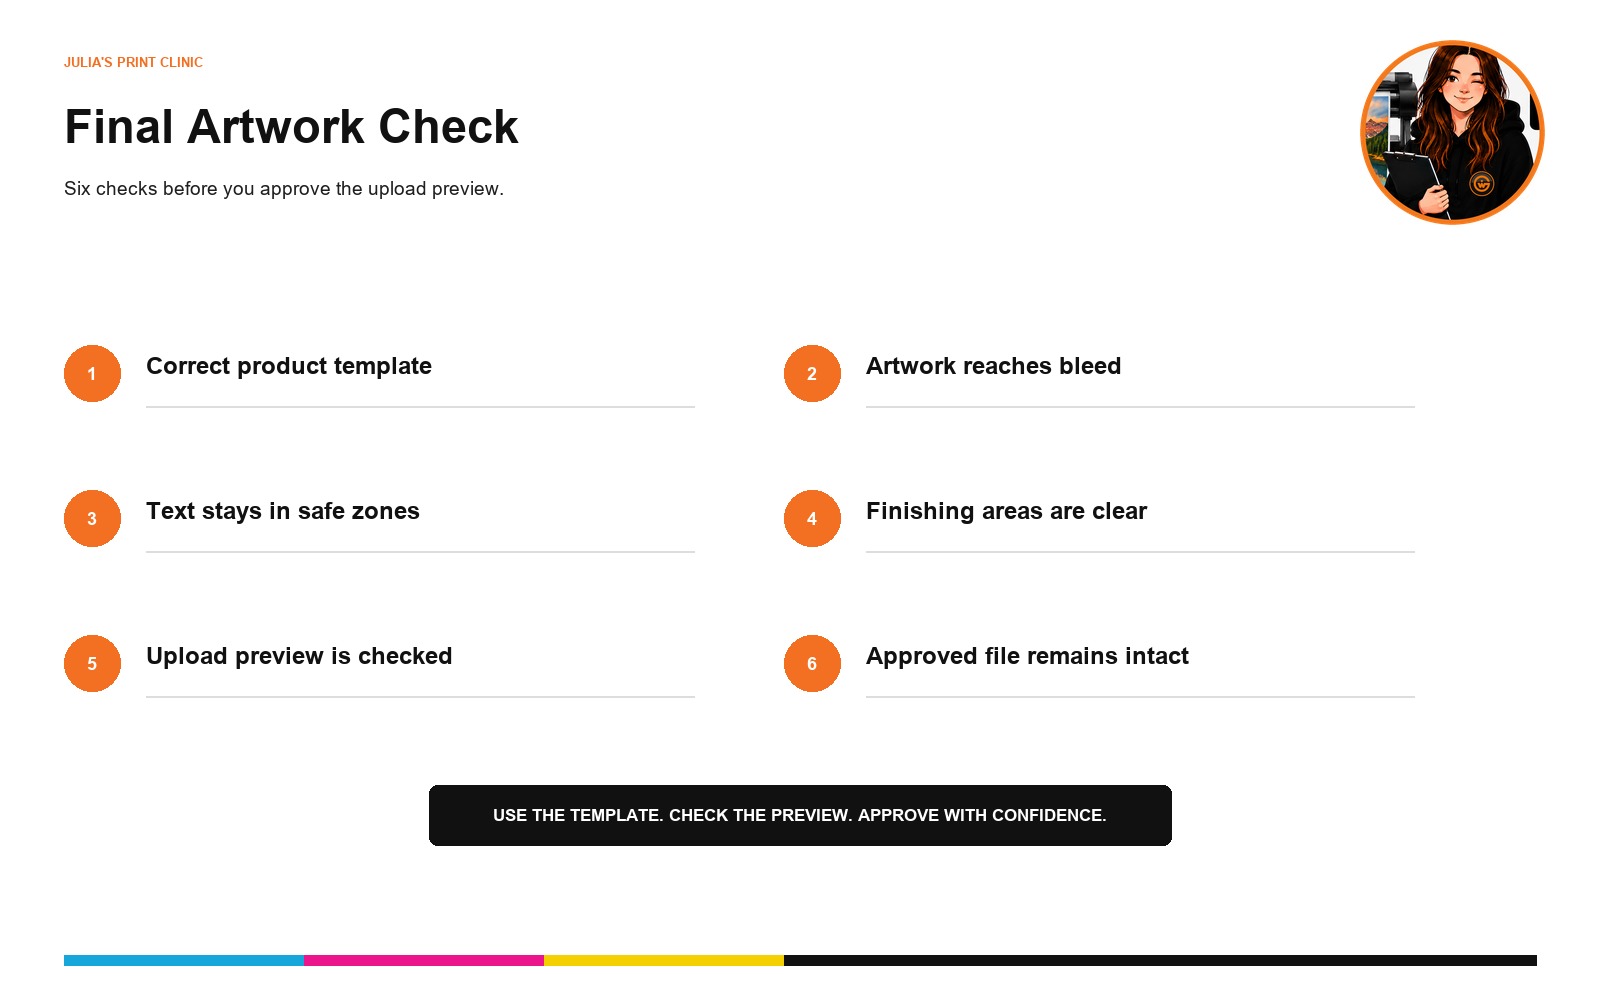
- Select the template for the exact product, size and finish.
- Extend backgrounds and images through the required bleed area.
- Keep text, logos, QR codes and key details inside the safe zone.
- Allow for hems, eyelets, pockets, stitching, folds and hidden areas.
- Check the upload preview at a useful zoom level.
- Inspect every edge after using Stretch, Eyedropper or Mirror.
- Avoid reopening approved artwork unless a genuine design change is needed.
- Confirm the final file still has the correct size, fonts, colours and export settings.
Julia's Pro Tip
Ask What This Product Needs
"Do not ask, 'What is the bleed for everything?' Ask, 'What does this product need?'"
Frequently Asked Questions
Is there one bleed setting for every print product?
No. The correct bleed depends on the product, material, size and finishing method. Use the current product-specific template rather than a universal value.
Should I always add 3mm bleed?
No. Although 3mm is familiar in some print workflows, it is not a universal requirement for banners, rigid boards, roller banners, stickers, flags, tablecloths or fabric displays.
Why should I use the Graphic Warehouse template?
The template is generated around the selected product and can show the correct page size, bleed, safe zones, trim position and relevant finishing allowances.
Can bleed be added during upload?
For suitable artwork, browser-based Stretch, Eyedropper and Mirror methods can generate bleed during upload. Always inspect the preview to confirm the result is visually appropriate.
Which browser bleed method should I choose?
Stretch can suit extendable edges, Eyedropper can suit flat-colour backgrounds, and Mirror can suit some photographic or textured edges. The right choice depends on the artwork.
Why not reopen my approved artwork?
Reopening can introduce missing fonts, moved objects, broken links, colour or profile changes and incorrect export settings. Upload-stage bleed generation can reduce that risk where the result is suitable.
Need a Hand?
Need the Correct Artwork Setup?
Choose your product and use the Graphic Warehouse template created for its size and finishing requirements. During upload, check whether Stretch, Eyedropper or Mirror can resolve a suitable edge without reopening approved artwork.
For anything unusual, send the file to Julia's team and tell us which product you are ordering. We can help you identify the safest route before production.
START YOUR PRINT ORDER ASK JULIA'S TEAMNext Time in Julia's Print Clinic
Why Does My Artwork Look Blurry?
Julia explains DPI, image resolution and scaling, with practical checks to stop photographs and logos becoming pixelated in large-format print.
Editorial note: confirm current product templates, upload-tool availability and finishing requirements against the selected live product before publication. Requirements can vary by product, size and specification.
Please login to post a comment.