











































Layers & Cutlines: The Right Way to Build Your Artwork
I check and fix thousands of artwork files every year before they reach the Graphic Warehouse production team. Most files are nearly there, but a small problem with a layer name, vector path or drill-hole position can create questions, slow down proofing or stop an order moving straight into production. The good news is that these problems are usually simple to avoid. This guide follows on from our first Print Clinic article, Cutlines & Drill Holes: How to Set Up Print-Ready Artwork . This time, I am taking you one step further and showing you how to organise your print and finishing information in layers. Don’t worry – once you understand the layer structure, it becomes second nature.Your Artwork Advice Expert
 I am part of the Graphic Warehouse Customer Service team, and a big part of my role is checking customer artwork before it is produced. That means looking for missing bleed, low-resolution images, incorrect cut paths, misplaced drill holes and the layer issues covered in this guide.
“Layers are not just there to keep your artwork tidy. They tell our production system what to print, cut, crease or drill.”My aim with Julia’s Print Clinic is to make artwork preparation feel less complicated. A few simple checks can save time, protect quality and help your orders move through production more quickly.
Layers & Cutlines
When designers talk about layers, they often mean organising text, images and backgrounds so a file is easier to edit. In large-format print, layers can do something more important: they can act as clearly labelled production instructions. Think of your PDF as a neatly labelled set of instructions for our workflow and finishing equipment. The printed design tells us what should appear on the material. The finishing layers tell us where the item should be cut, creased or drilled.Why Layers Matter in Production
Graphic Warehouse uses a conveyorised flatbed digital cutting table to finish printed products accurately and consistently. The cutter does not look at a design and guess where the edge should be. It follows vector information supplied within the artwork file.- Identify the intended finished shape.
- Distinguish cutting from creasing and drilling.
- Reduce artwork queries.
- Check finishing positions during proofing.
- Minimise the risk of duplicate or incorrect cuts.
- Move approved files into production more quickly.
The Layer Sandwich Explained
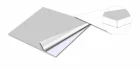
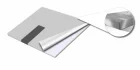
Imagine your file as a sandwich of information. The printed artwork sits underneath. Registration information is used by our production workflow so the cutting table can locate the printed job accurately. Finishing instructions sit above the printed artwork and are applied after printing. CUT CREASE CUT2 (Drillholes) REGISTER PRINT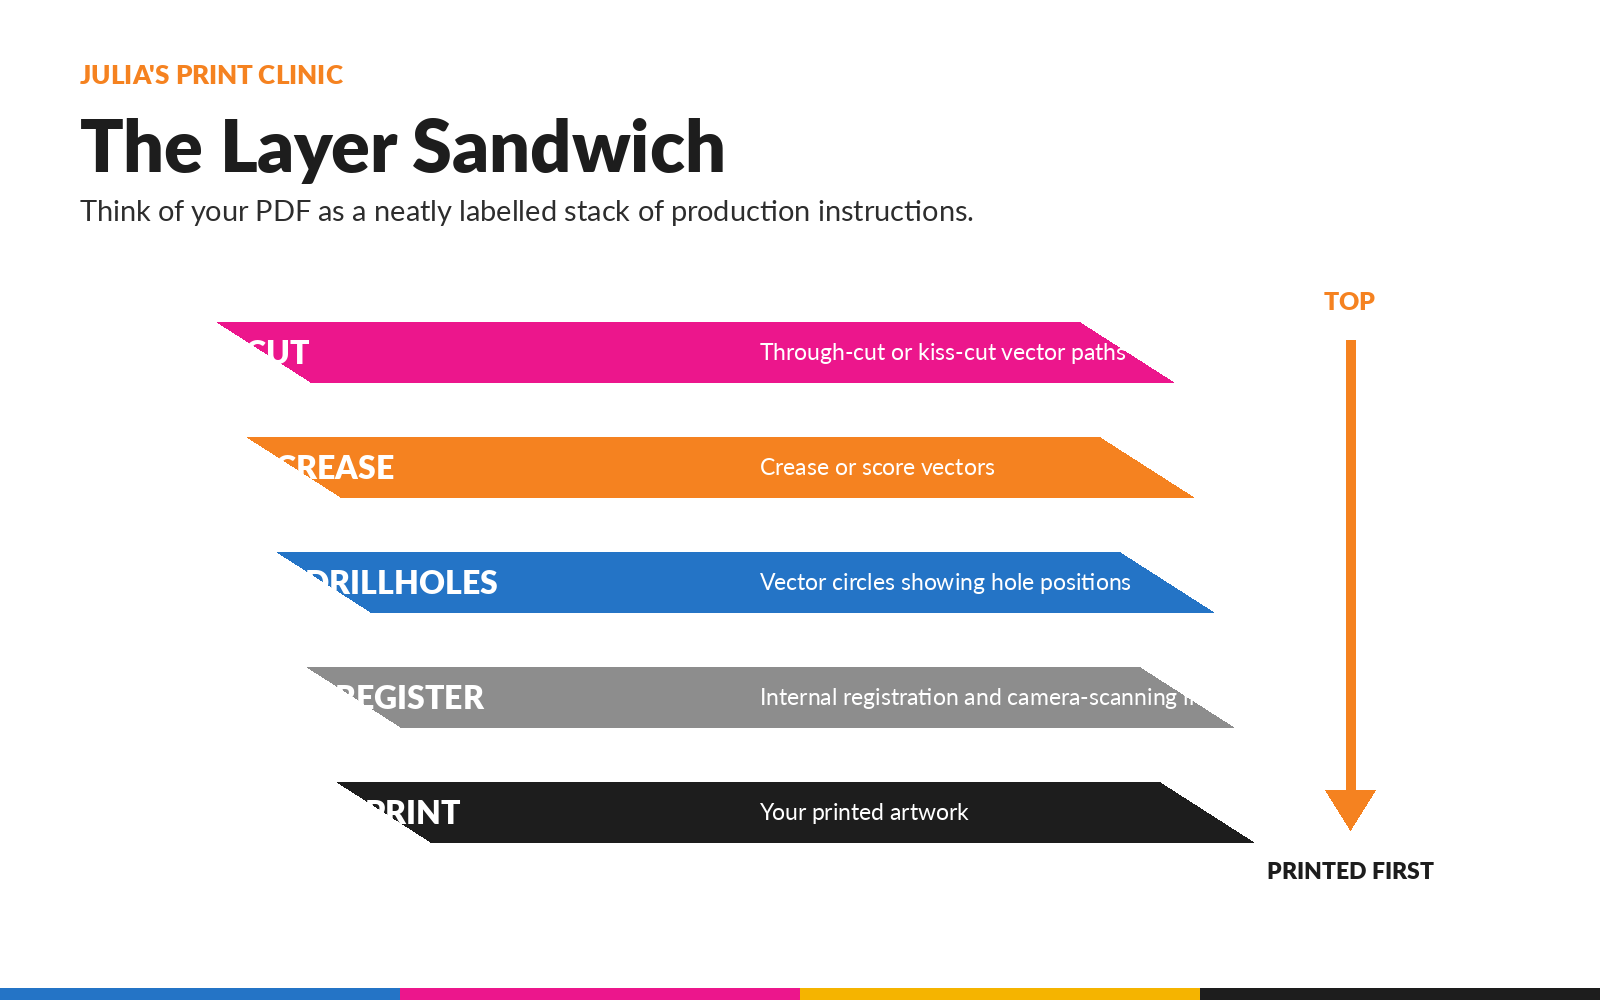
The CUT Layer
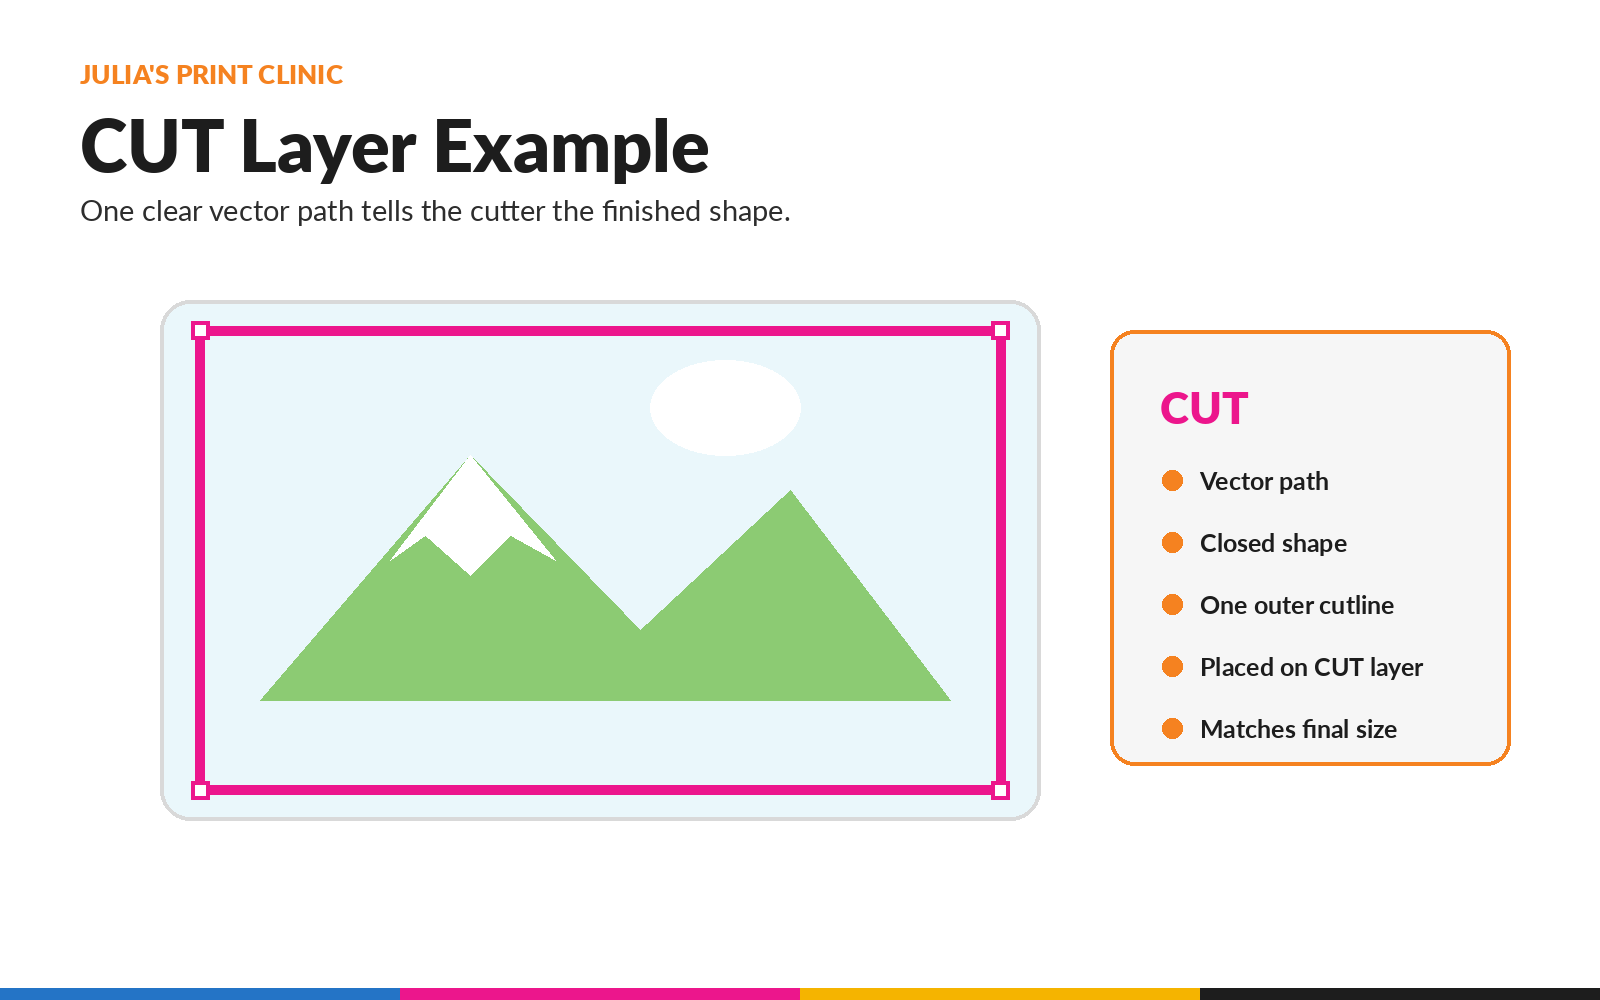
Use a layer named exactly CUT. This layer contains the vector path that defines where the item should be cut. Depending on the product and finishing option selected, this could be a through-cut or a kiss-cut.- Use a vector path.
- Close the path where it defines an enclosed finished shape.
- Remove duplicate or overlapping paths.
- Align the path accurately with the artwork.
- Include it in the same PDF as the print.
- Place it on the correctly named CUT layer.
The CREASE Layer
Use a layer named exactly CREASE. This layer contains the vector lines that show where the material should be creased, scored or folded. It is commonly used for folders, counter display units, leaflet dispensers, tent cards, boxes and other folded point-of-sale products. Keep crease lines separate from cut paths. A line on the CUT layer tells the finishing equipment to cut; a line on the CREASE layer tells it to create a fold or score.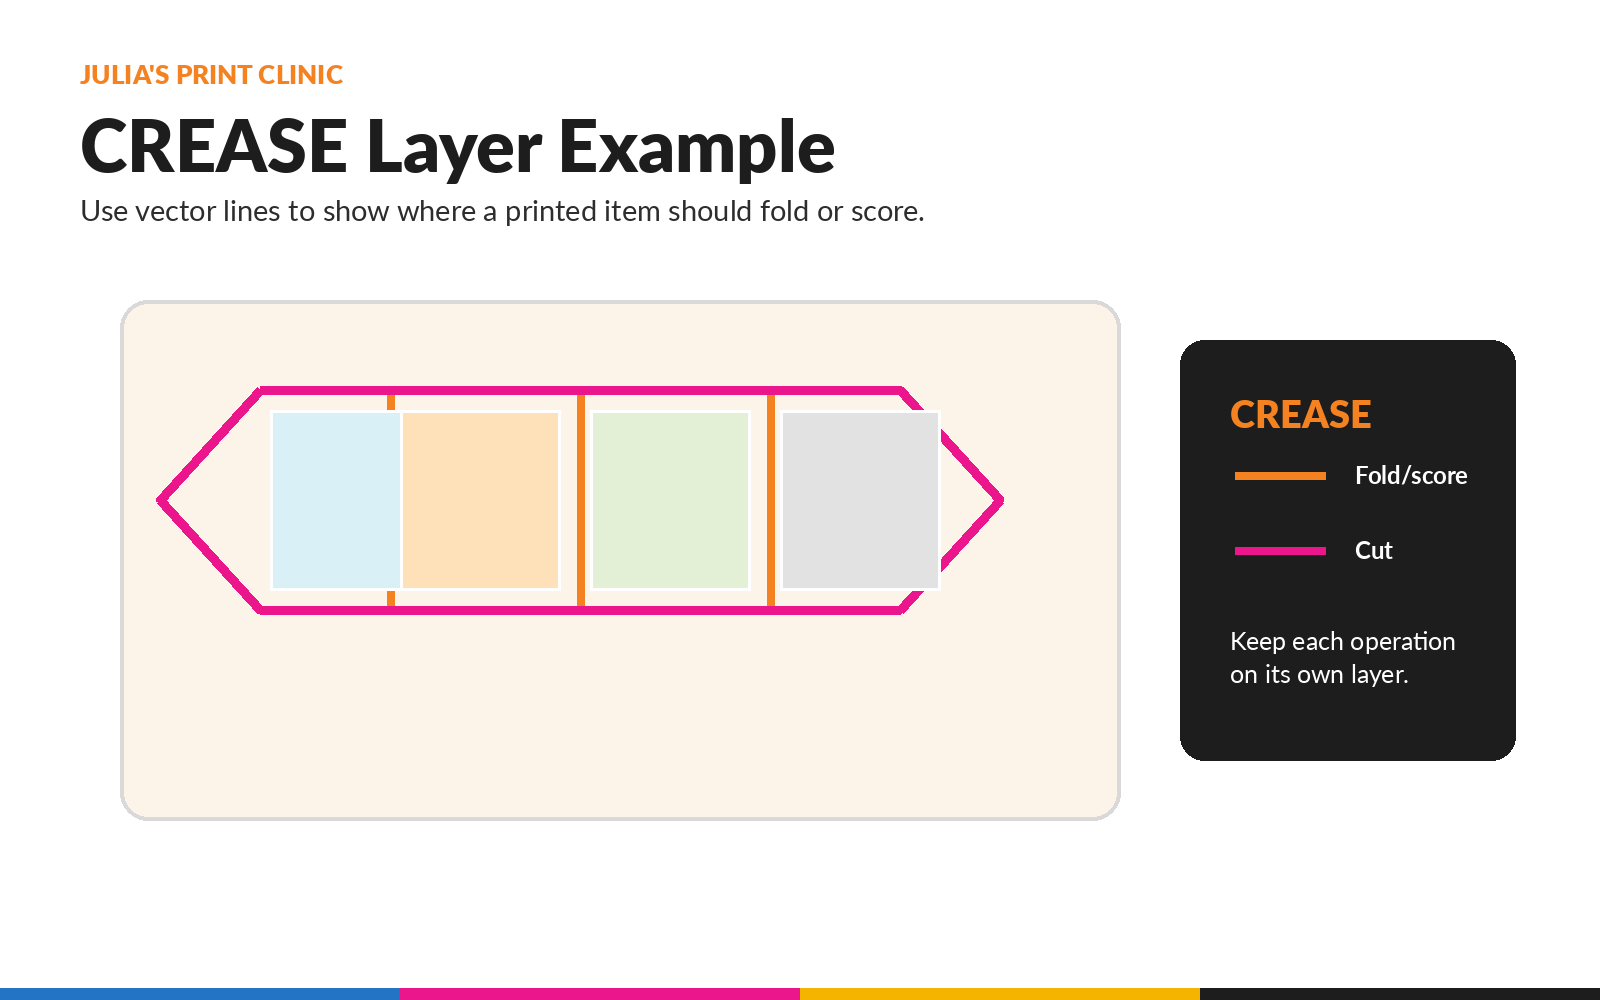
The DRILLHOLES Layer
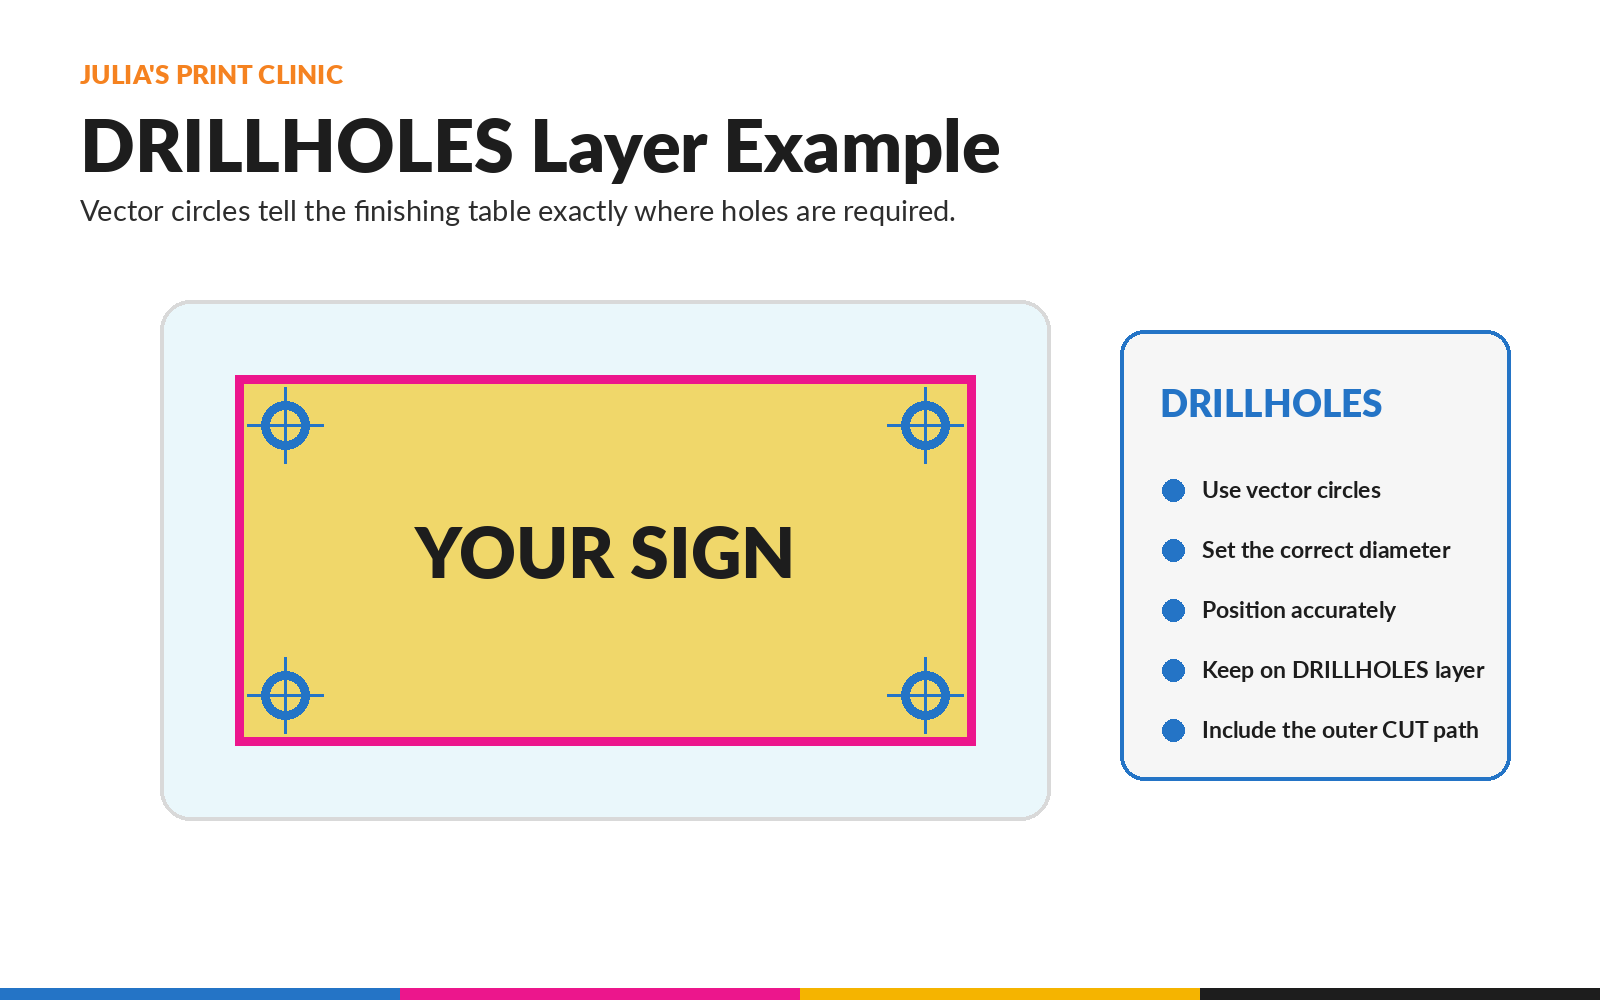
Use a layer named exactly DRILLHOLES. This layer contains vector circles showing the required position and diameter of each drill hole.- Use vector circles.
- Set the correct diameter.
- Position every hole accurately.
- Check the distance from each edge.
- Include the outer finish-size cutline where required.
PRINT and REGISTER Layers
REGISTER
REGISTER information helps the finishing equipment locate the printed sheet accurately using camera scanning. Important: Graphic Warehouse’s existing workflow creates or manages registration information internally. Do not add unnecessary registration marks unless our team specifically asks you to do so.The Correct Layer Order
A useful top-to-bottom order is: CUT CREASE DRILLHOLES REGISTER PRINT The exact combination depends on the job, but the principles remain the same: use the exact layer names, keep each finishing operation separate, keep finishing vectors above the print and supply everything in the same PDF.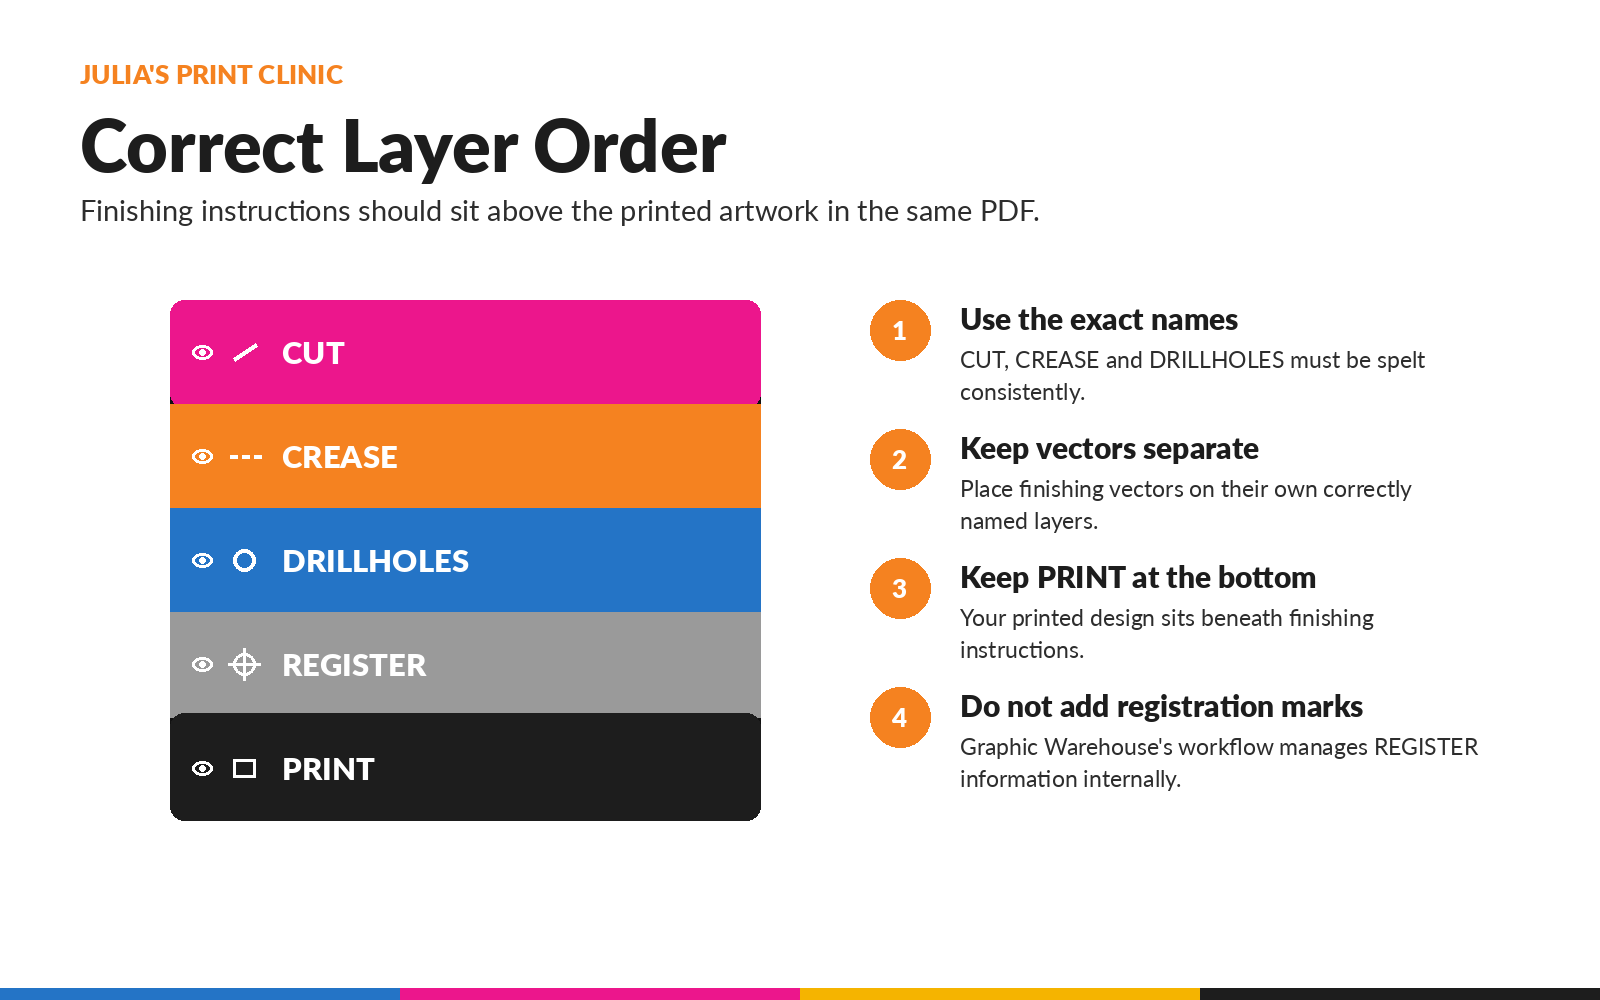
How to Set Up Layers in Your Design Software
Adobe IllustratorSetting Up CUT, CREASE and DRILLHOLES Layers
- Open the Layers panel.
- Create a new layer for each finishing operation you need.
- Name the layers exactly CUT, CREASE or DRILLHOLES.
- Create or select the relevant vector path.
- Move the path onto the correct finishing layer.
- Keep the printed design on the PRINT layer.
- Check for open, duplicate or overlapping paths.
- Export one print-ready PDF using the settings shown in the video.
Keeping Print and Finishing Information Organised
- Open the Layers panel.
- Create and name the required finishing layers.
- Draw or import the finishing vectors.
- Make sure each vector sits on the correct layer.
- Keep printed design elements on the PRINT layer.
- Export the complete job as one print-ready PDF using the video settings.
- Check the finishing overlay during proofing.
Creating Production Layers in the Objects Panel
- Create a separate layer for each finishing process.
- Use the exact names CUT, CREASE and DRILLHOLES.
- Move the correct vector objects onto each layer.
- Keep the printed artwork separate.
- Check for duplicate objects and open paths.
- Export one print-ready PDF.
- Review the extracted finishing information during proofing.
What Happens When You Upload the Artwork?
Upload your PDF through the normal Graphic Warehouse ordering process. The system extracts the finishing information from the file and prepares it for review. During the Proof and Approve stage, you will see the finishing information overlaid on the printed artwork.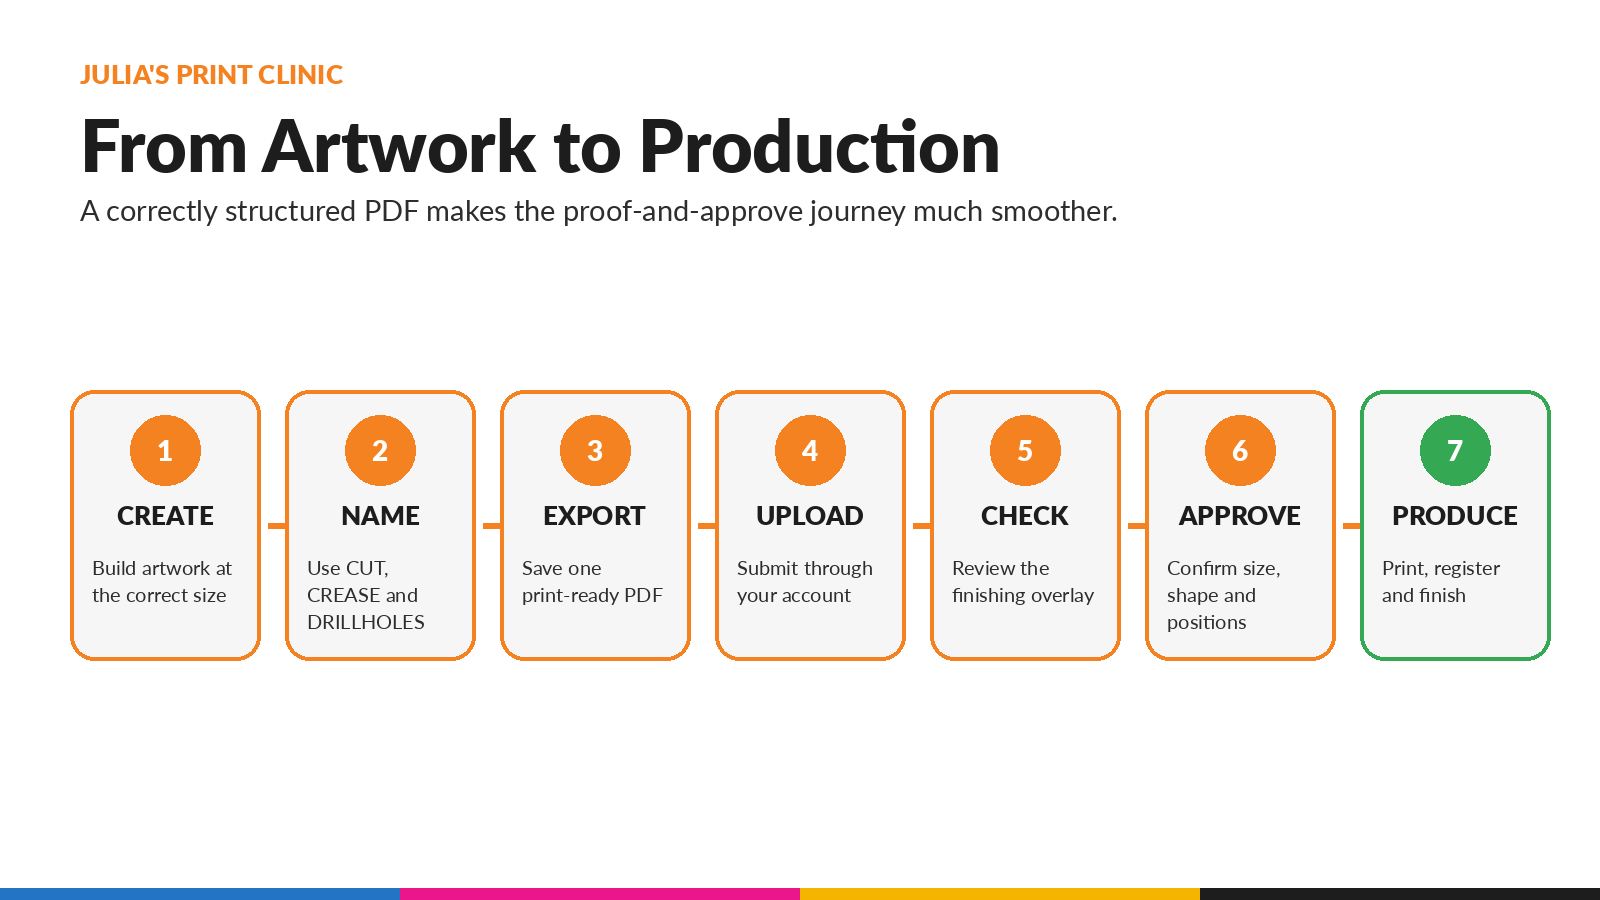
Check the Proof Carefully
- Confirm the finished shape.
- Check internal cut-outs.
- Check the location and diameter of drill holes.
- Check the position of crease lines.
- Check the relationship between finishing paths and the printed design.
Common Layer and Cutline Mistakes
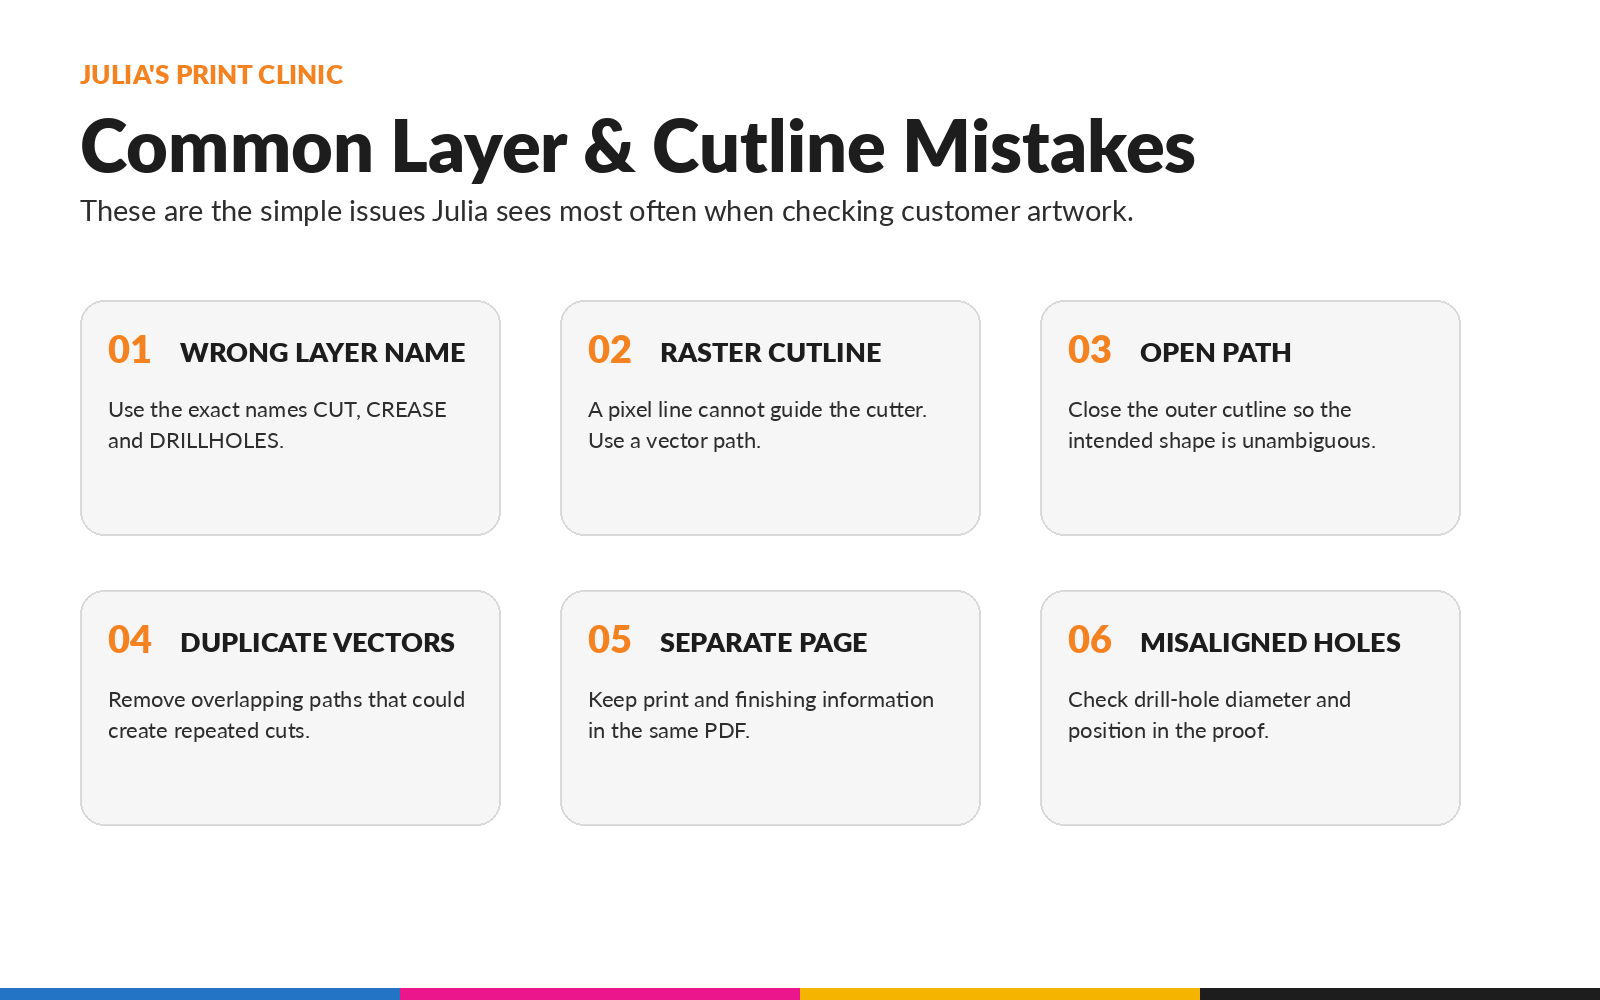
Incorrect Layer Names
Use CUT, CREASE and DRILLHOLES exactly. Names such as “Cut Line”, “Cutter”, “Fold” or “Drill” may not match the expected workflow.Raster Cutlines
A JPEG, PNG or pixel-based line is not a usable cutting path. Finishing information must be supplied as vectors.Open or Duplicate Paths
Close paths that define enclosed shapes and remove vectors sitting directly on top of one another.Finishing Information on the PRINT Layer
Keep cut, crease and drill information separate from the printed design.Cutlines Supplied on Another Page
Print and finishing instructions should be supplied together in the same PDF, not as separate pages that have to be matched manually.Adding Registration Marks
Graphic Warehouse’s workflow manages REGISTER information internally. Do not add marks that have not been requested.Approving Without Checking the Overlay
Always check that the displayed finishing paths match the intended finished product before approving the proof.Julia’s Final Artwork Checklist
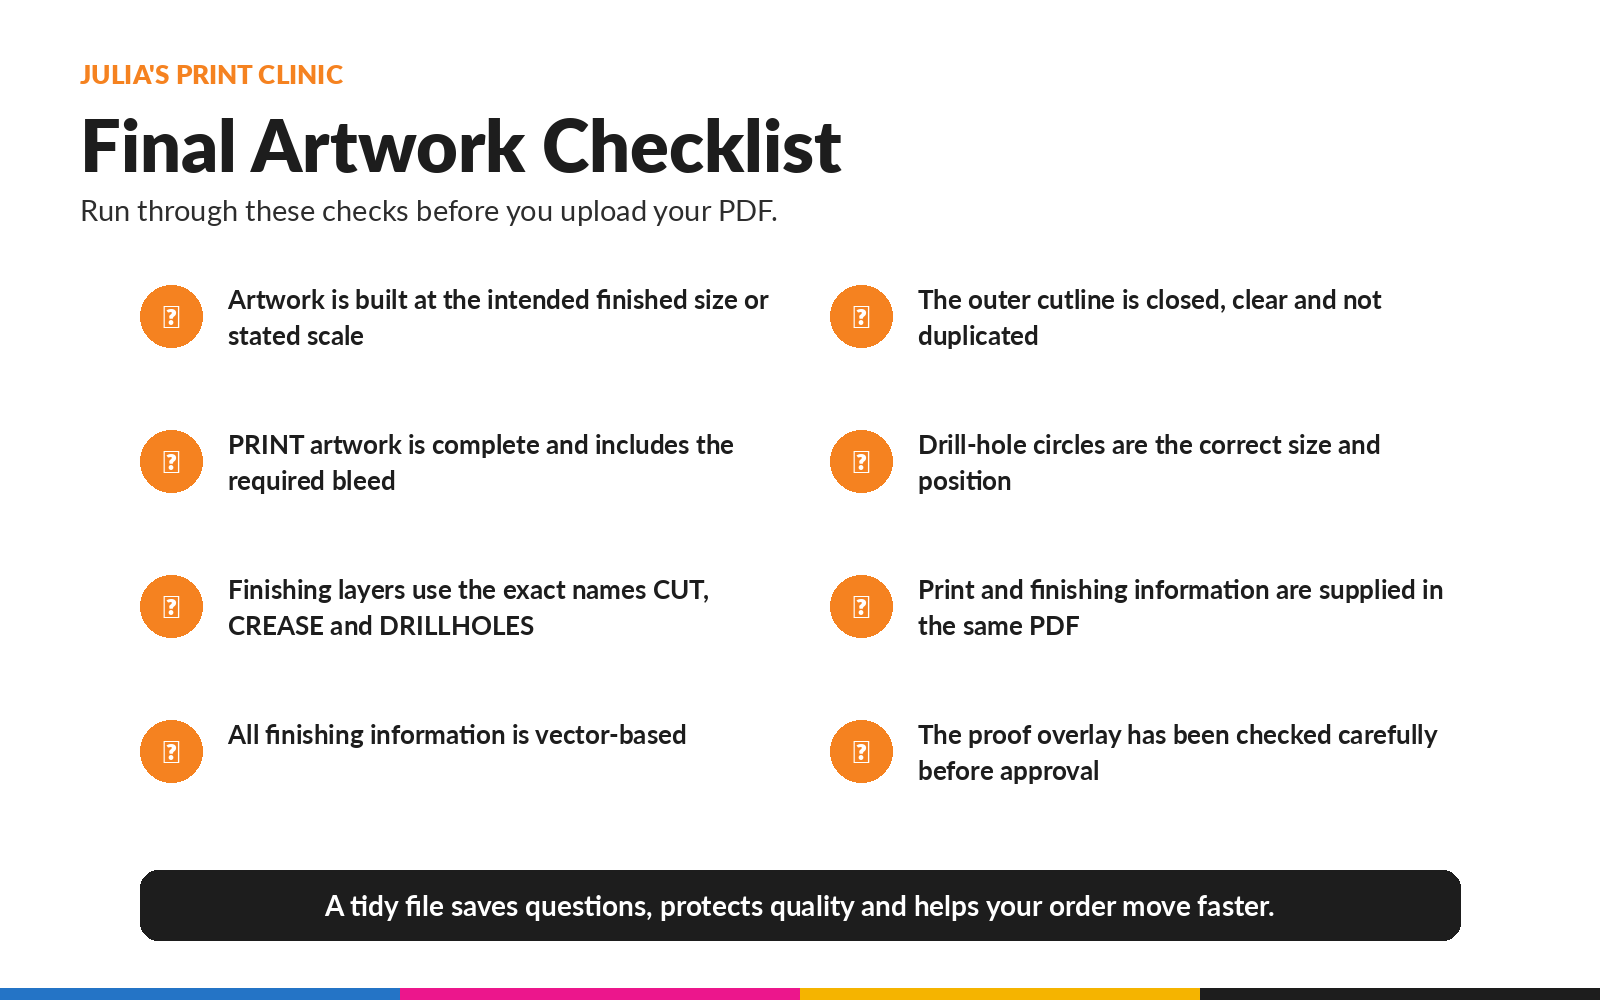
- Artwork is built at the intended finished size or stated scale.
- The required bleed has been added.
- Layers are named CUT, CREASE and DRILLHOLES where needed.
- All finishing paths are vectors.
- The outer cutline is clear, closed and not duplicated.
- Drill-hole circles are correctly sized and positioned.
- Crease lines sit on the CREASE layer.
- Print and finishing information are supplied in one PDF.
- No unnecessary registration marks have been added.
- The proof overlay has been checked carefully before approval.
Vector or Raster?
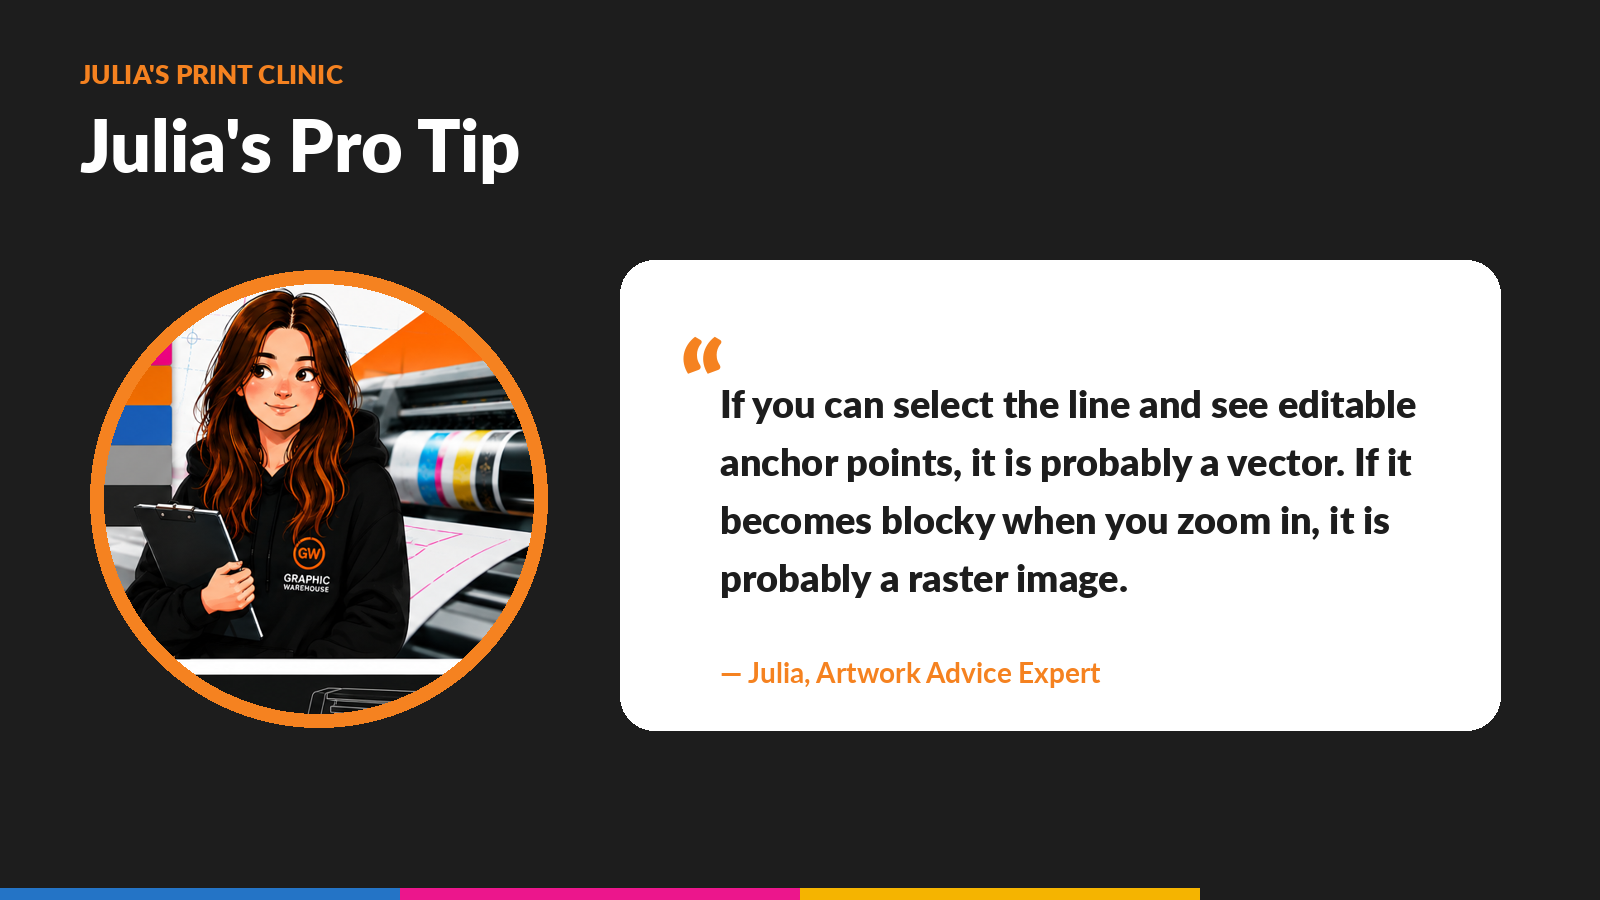
“If you can select a line and see editable anchor points, it is probably a vector. If it becomes blocky when you zoom in, it is probably a raster image.”
Please login to post a comment.