


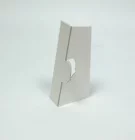


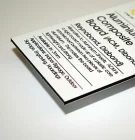
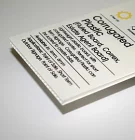


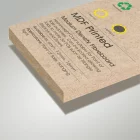

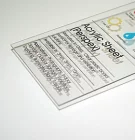


Everything we print is cut using a conveyorise flatbed digital cutting table, This provides accuracy and ensures that human error is minimised and that the quality of the finished product is great, consistently.
In this blog you will find links to videos below on how to set up artwork files in Adobe Illustrator, Adobe InDesign and CorelDRAW.
To to this the artwork file (usually and print ready PDF) is prepared in layers. Imaging a sandwich of layers, with each layer of your sandwich containing information that is to be processed but they have to be layerd in the correct order:
To add Cut, Crease or Drill Hole marks all you need to do is add the correctly named layer for your finishing process then add your finishing vectors to the new layer.
Your layers need to be called…
“CUT” for a through-cut or kiss-cut
“CREASE” for any crease lines
“DRILLHOLES” for any drill holes
You upload your files as per usual. When uploading your files our system will automatically extract the finishing information from your print file.
In the Proof and Approve stage you’ll be shown the extracted finishing information over-layed on your print file.
Still stuck? No worries. We’ve added videos for the 3 most popular design packages, just click to see a video of a cut to shape job being prepared & uploaded.
Please login to post a comment.